Video Course: Lights, engine crane and storage
I'm probably writing about the The Video Course - check it out!
It's hard to think back on what happened last week - it felt like a long week.
Lighting

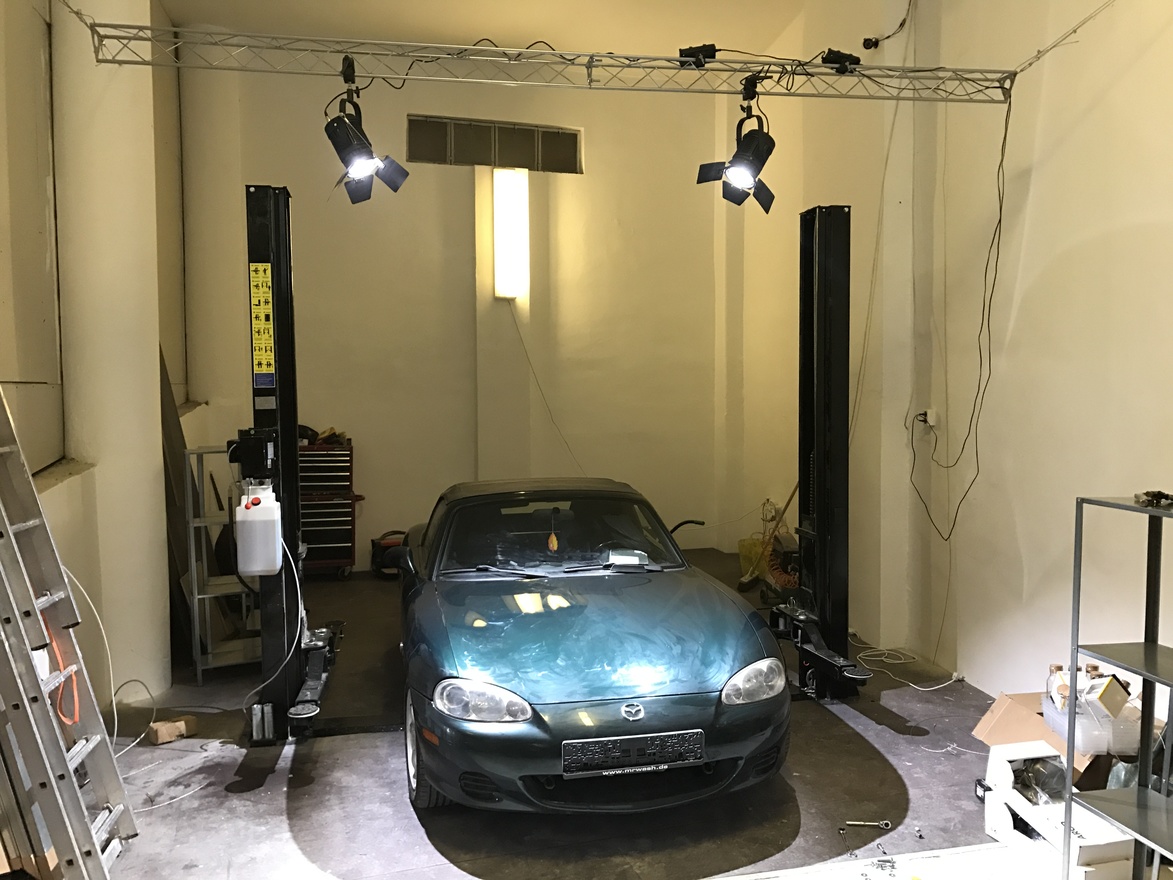
With the lift, floor and walls all finished, it was time to set up some lighting. For each shot in the video we'll set up free-standing lighting, but we also want a certain amount of general lighting. I'm told we can't have too much lighting. So I ordered some trussing and I will permanently install four lights directly above the working area. These LED fresnel lights are expensive to buy (around $500 each), but given that we'll be filming for at least three months it will work out much cheaper than hiring them. These specialist video lights cost a lot because they provide full-spectrum light at 5500k, which is the optimum for video. Most standard lights are too yellow for video, even fluorescent tubes. And normal, cool blue LED lighting doesn't show up a full spectrum of colors in footage. You can see in the photo that the regular lighting in the background makes everything look white, while the professional lighting at the front looks great.
We suspended the lights using some light trussing and steel wire from four different points. It's extremely strong, but not flexible - sometimes we want the lights close to the engine compartment, and other times we'll want them much higher up, especially as we'll be raising and lowering the car to access the underside. So next week I'll redo this system with three pulleys - one either side to lift the bar and one towards the front to move it backwards and forwards. The garage has a 5m ceiling and we don't have a ladder that reaches that high while freestanding. Some thought is needed!
Engine crane
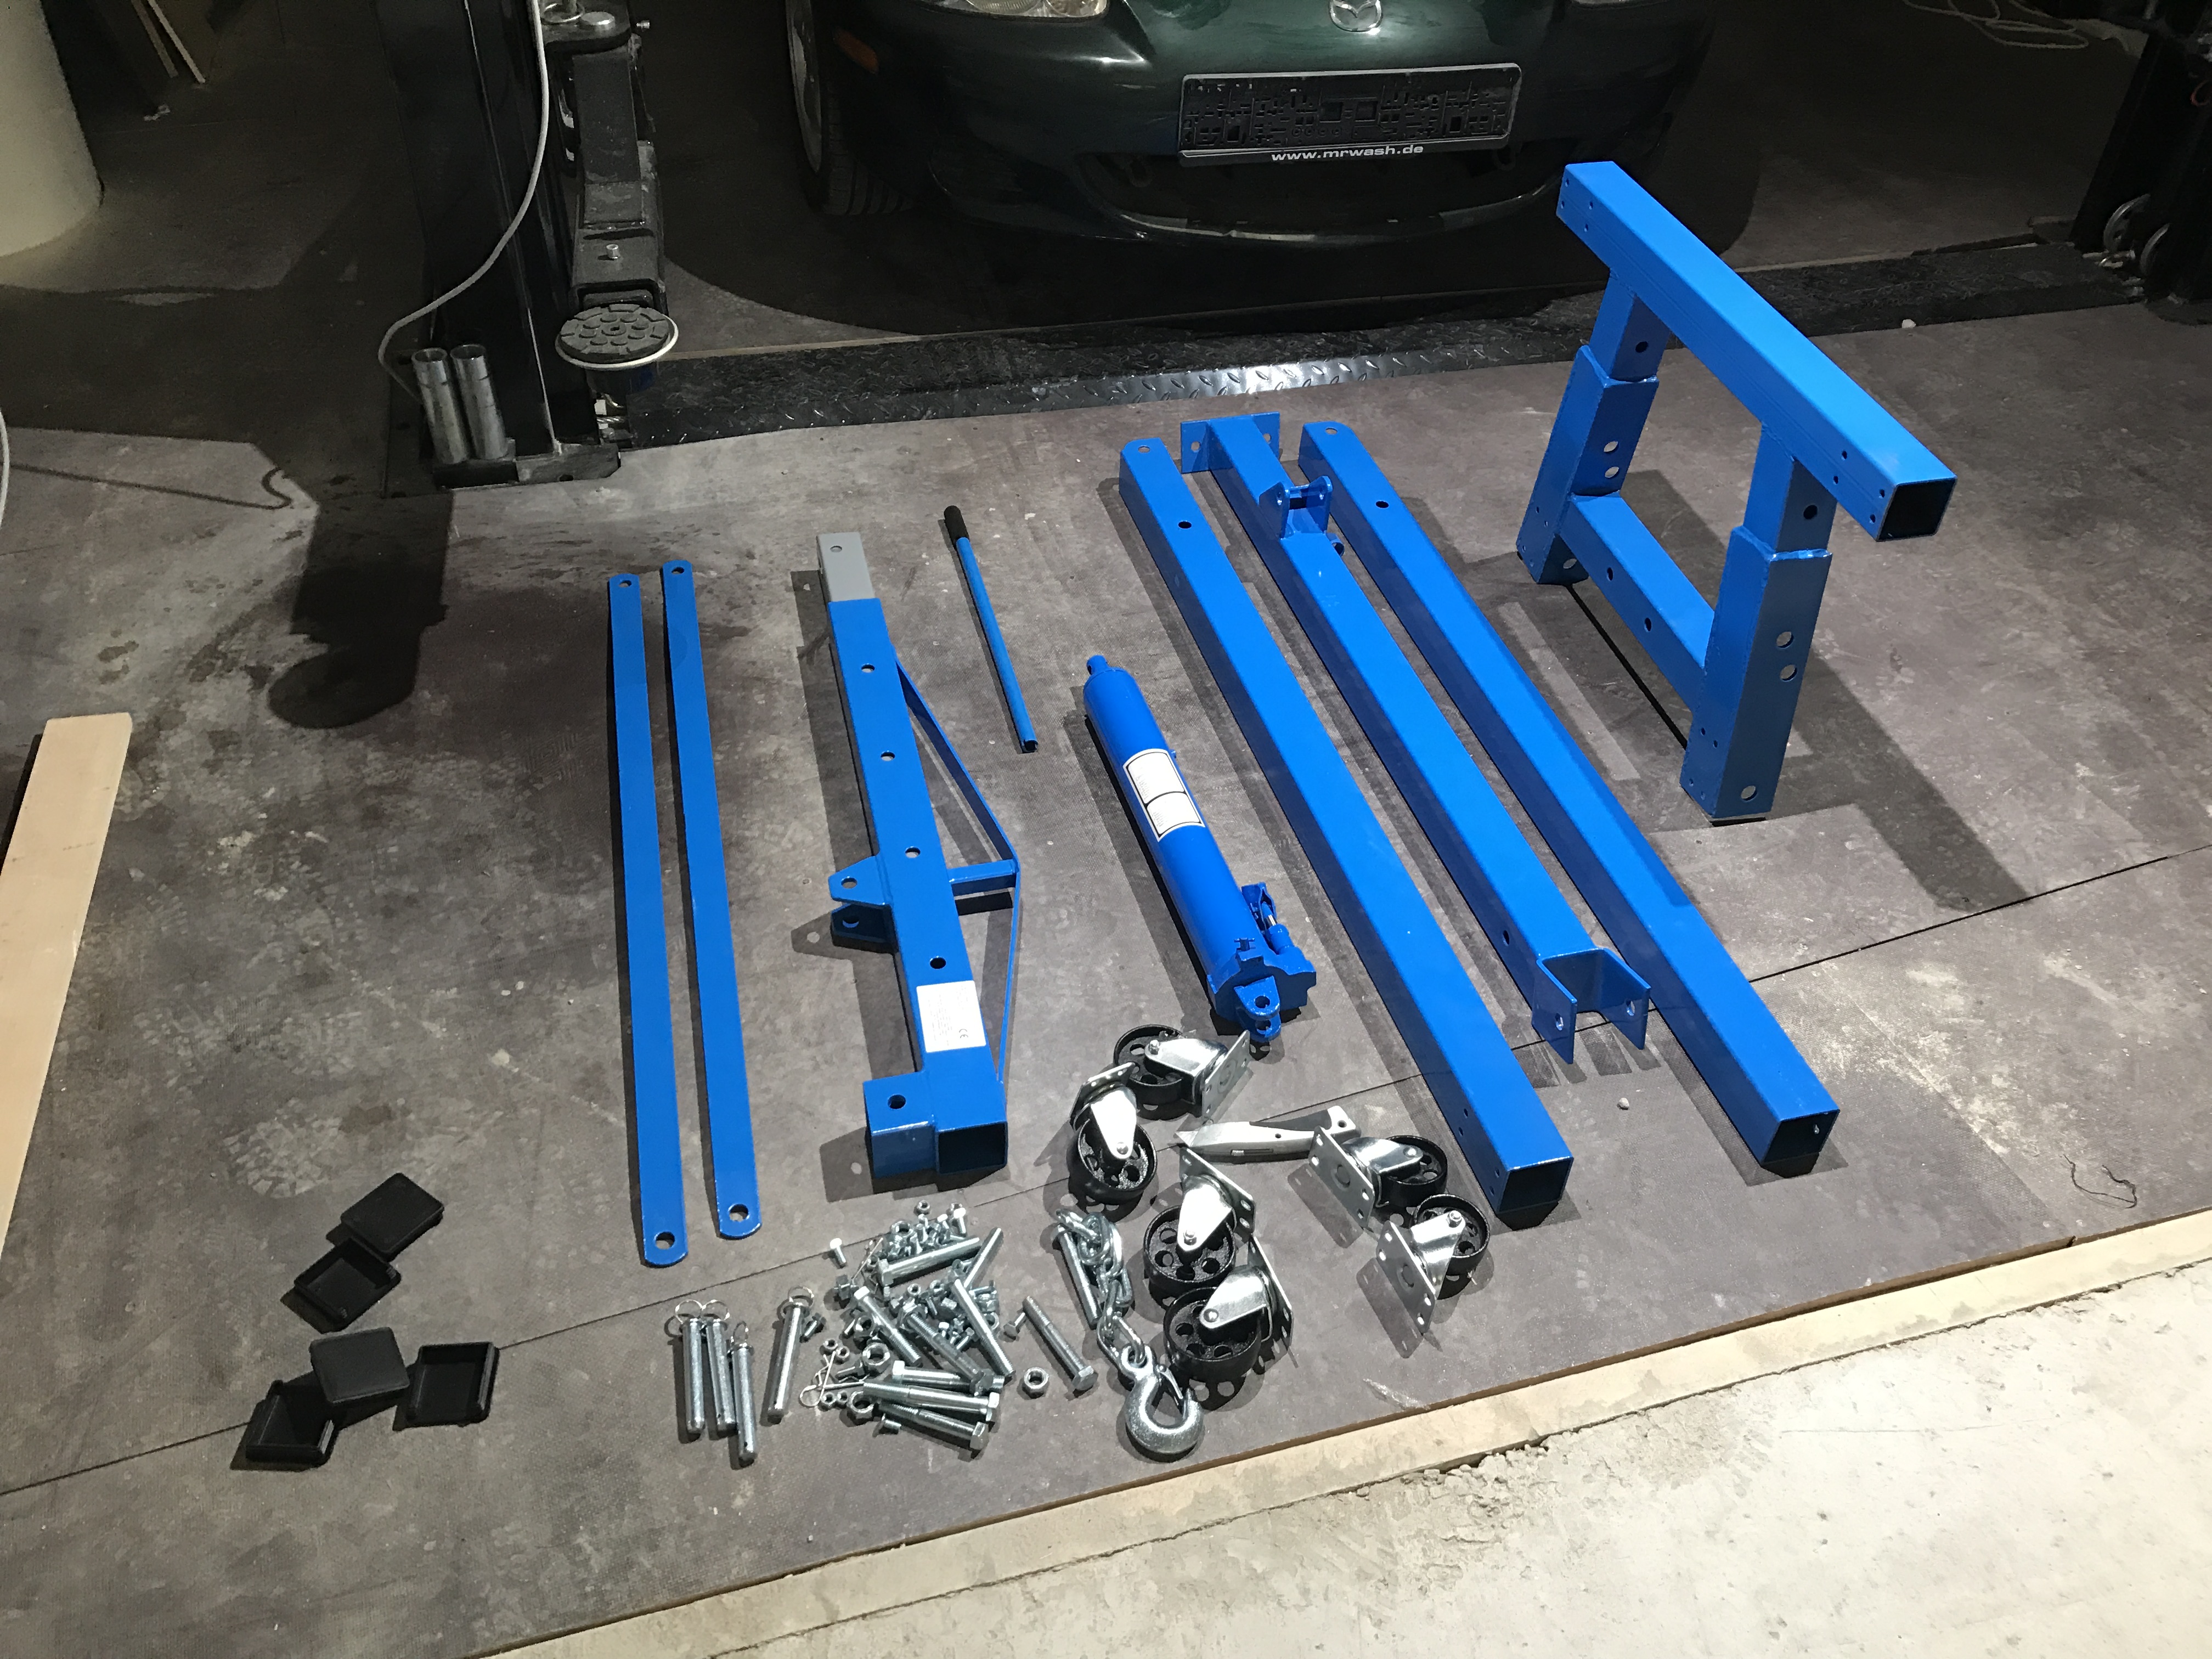
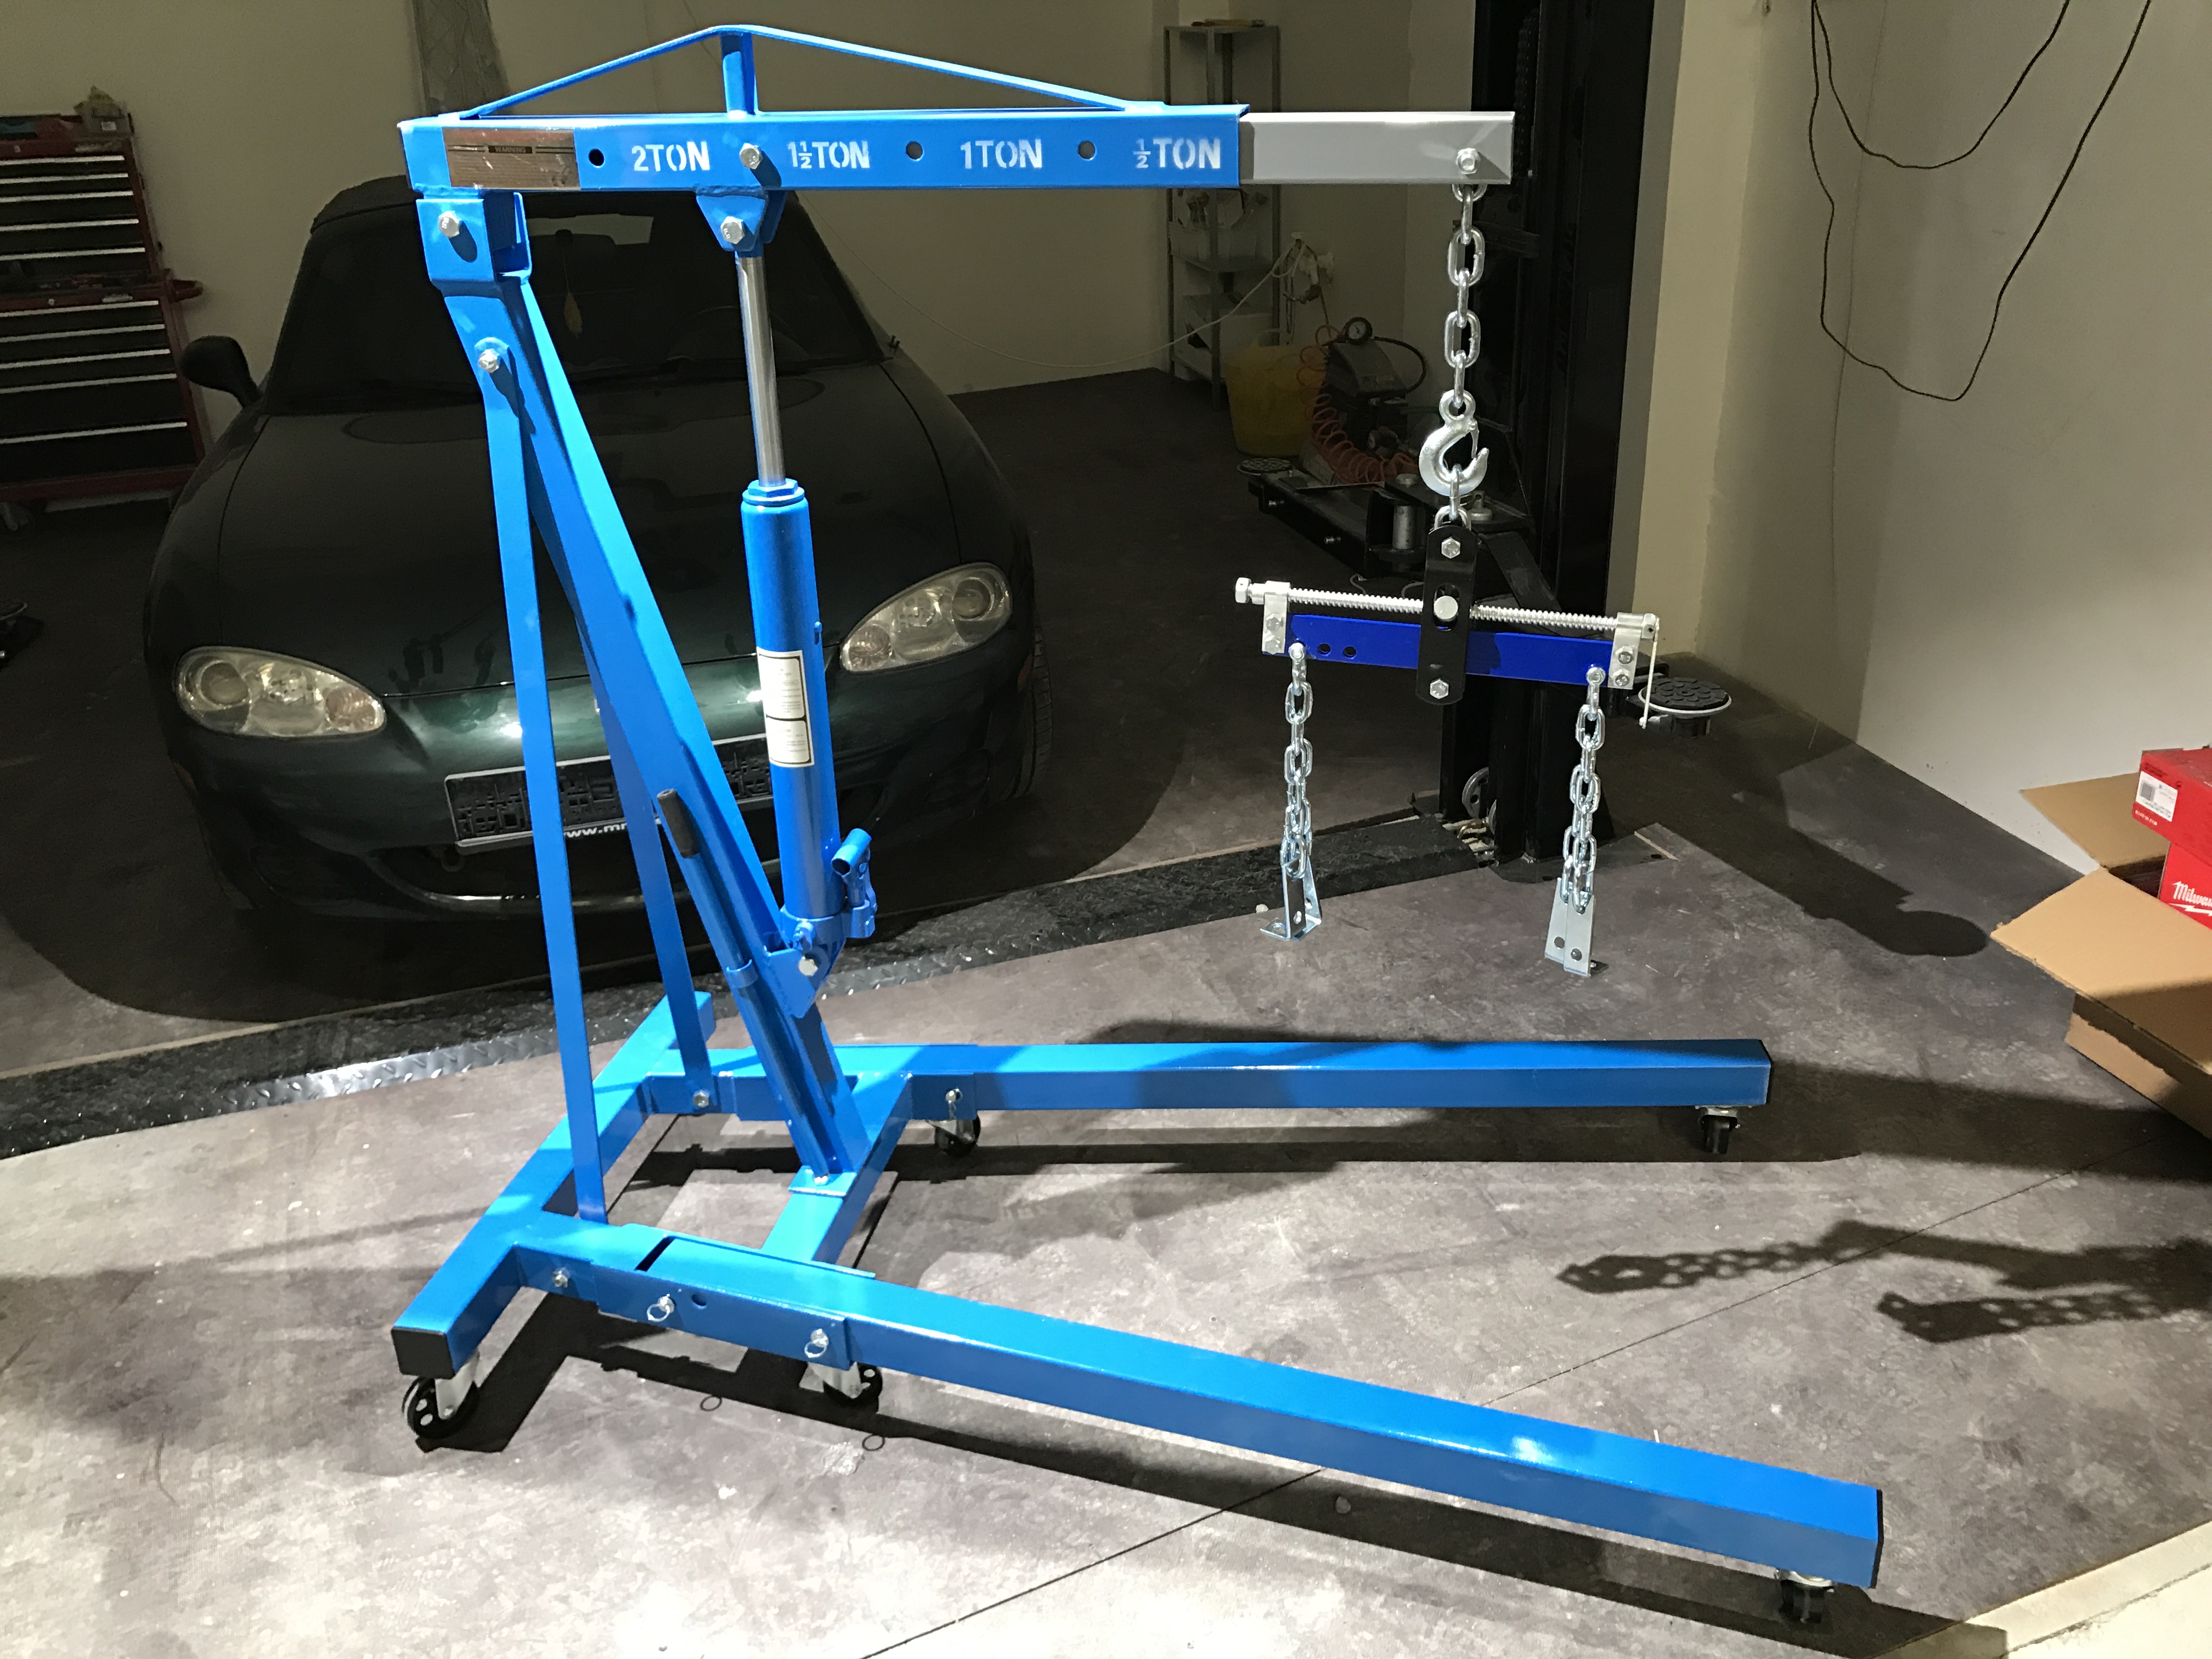
I ordered an engine crane and it arrived in pieces with no instructions. But it was fairly easy to put together and sturdily built. The car will need to be raised for the crane to fit underneath because the crane legs are about 15cm tall with their wheels - better quality engine cranes have much lower profile legs - this one is fine for our purposes. If you've never used an engine crane we'll be covering that in the course too.


Storing the parts
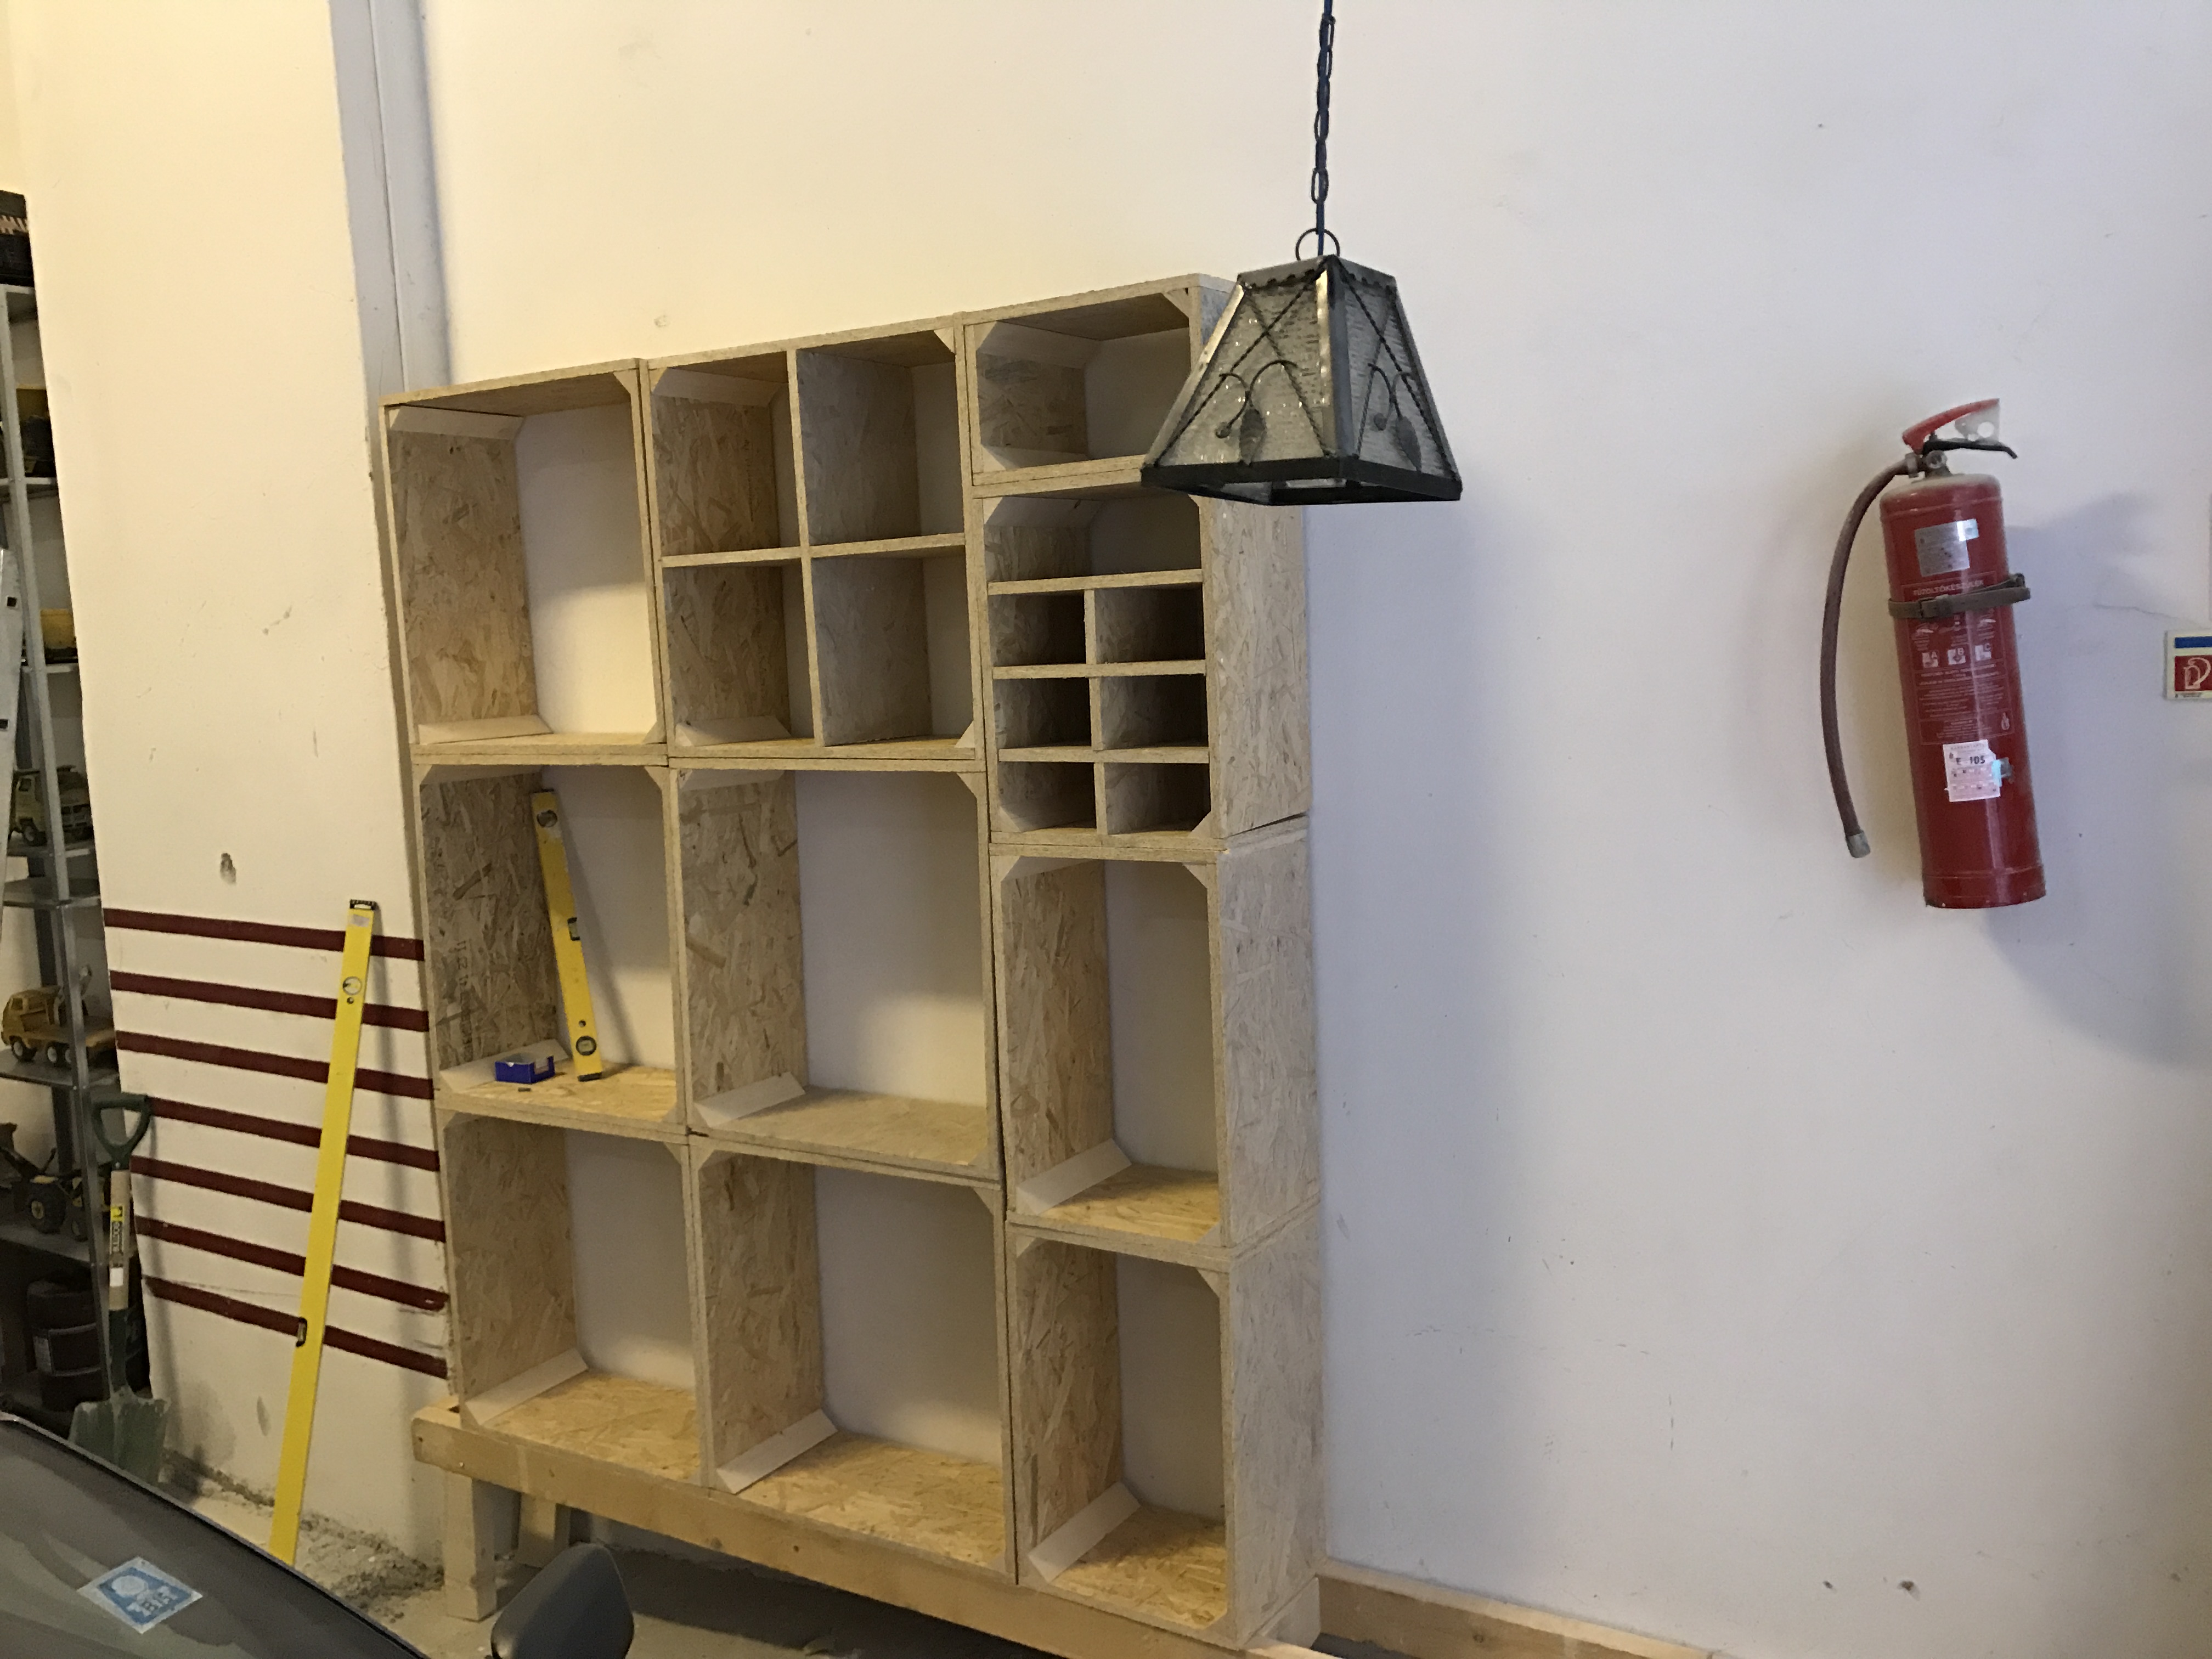
We're taking an entire car completely to pieces and then rebuilding it, but we don't have anywhere to put those hundreds of components. So I began building a unit of shelves and boxes for us to store the parts. We'll be shooting a timelapse of all the parts 'appearing' in the parts area. It would be nice to keep them on the floor but to do that would require about 80m2 of clear floor space and we just don't have that area. Instead we can use the entire wall space.
In the photo this shelving unit looks tiny but it's actually huge. The yellow spirit level on the left is 1.5m long!
It will be very satisfying to see this car appear on the wall. Though I have no idea how much shelf space an MX5 takes, but I'll just keep building upwards until I hit that 5m ceiling.
We've made tremendous progress on 3D modeling - I'd love to share it but it's not quite ready. I'm very hopeful we'll have it done this week.
Tomorrow I have a meeting about a parts washer :) And we'll continue on with the build.
Related
Studio3: Bigger and better
I finished 14 hours of automotive engineering videos for the video course back in October. It's been a hectic few months and I'm finally ready to share some pretty exciting news: I've moved the video production to the UK. To Manchester, to be precise. And I'm building a proper studio where we can be more productive, more creative and shoot in even better quality. Read more
Why I chose an MX5 Miata for the video series
I've had quite a few questions from people about why I chose to use an MX5 Miata for the video series. Was it sponsored? Am I an expert with them? Because I love them? The answer is... it just seemed the best choice at the time. Now, with hindsight, I realise it was the best possible choice in the world. Here's the story... Read more
Course progress: March 2019
We've been filming and releasing videos every week since getting into the new studio. The course now has 9.5 hours of pro-quality video, fully subtitled and I'm really proud of what we're producing! We're using CGI anywhere it helps understanding, and the general quality and feel of the videos is at an all-time high. Read more