Checking windscreen wipers and washers
The Video Course teaches you everything about modern cars.
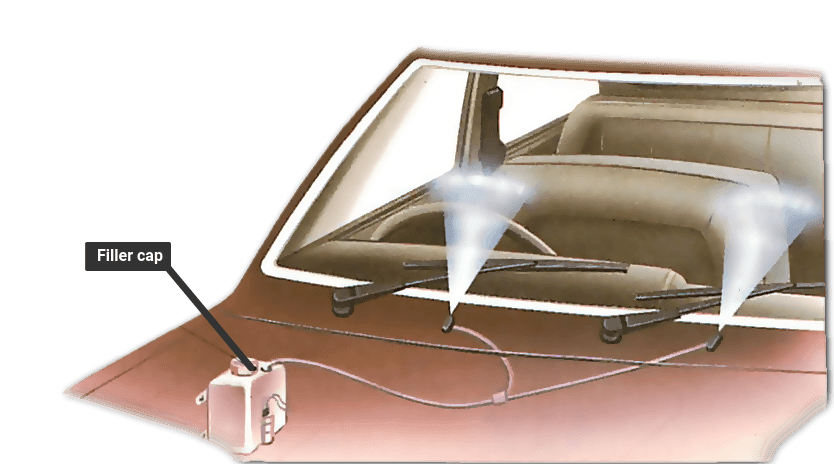
Windscreen washers and wipers must, by law, be in working order. Keep the washer bottle topped up with water and ensure that the wiper blades and arms are in good condition.
Worn blades smear the windscreen and impair visibility. The makers recommend replacement every 12 months.
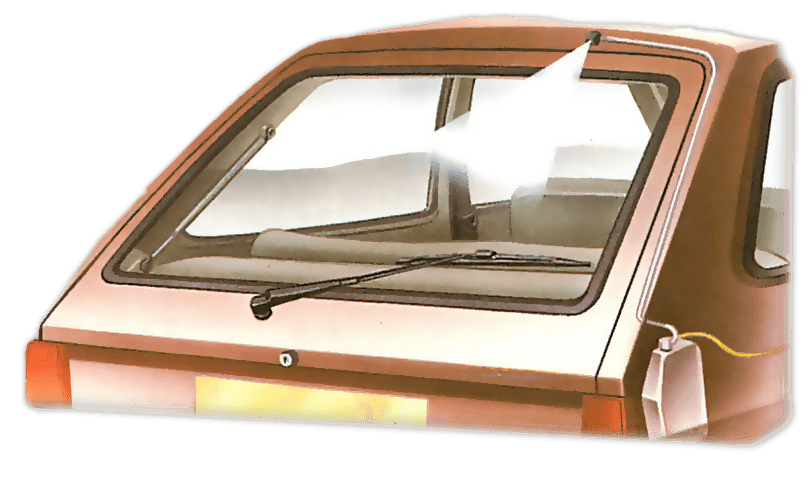
To keep the screen clear of oil and other pollutants, put some proprietary anti-smear additive in the washer bottle. Do not use washing-up liquid , which collects in the bottom of the bottle and clogs the non-return valve .
In winter, add screen-washer anti-freeze to the bottle. Do not use radiator antifreeze mixture, which will damage paintwork.
Checking the pump and jets
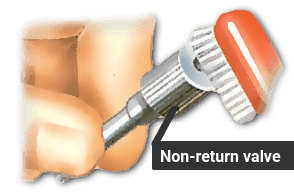
On a manual pump the push button operates a spring-loaded diaphragm in a bottle with two nozzles attached to pipes. One pipe draws fluid from the washer bottle and the other feeds it to the jets .
If the pump does not work when the washer bottle is full, make sure there are no disconnected pipes, and check with a piece of thin wire that the non-return valve or jets are not clogged.
To check the pump, disconnect and remove it. Push in the plunger, block both nozzles with a wet finger and then let it go.
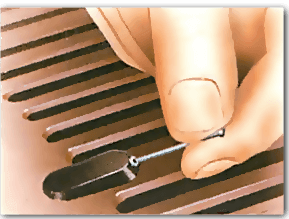
The plunger should stay in. If it returns to the at-rest position, the pump is damaged and a new one must be fitted.
Never operate an electric pump when the washer bottle is empty. The electric motor drives a flexible impeller to pump the water, and if it is continuously spun when dry, the blades can be damaged.
If the bottle is full but no fluid is delivered when the motor is running, check that no pipes are disconnected and that the pick-up pipe in the washer bottle is undamaged and immersed in fluid.
Check that the non-return valve or the jets are not blocked.
If the motor does not run when switched on, check that its electrical connections are secure.
If the connections are good, switch off the ignition and disconnect the feed wire. Connect a circuit tester between the pump and the earth.
Ask a helper to switch on the ignition and the washer switch. If the lamp lights, there is current available and the motor needs renewing (See Fitting a new windscreen-washer motor ).
If the lamp does not light, check the wiring and switch connections for faults (See How to test electrical circuits ).
If the flow rate through the jet is poor, remove the non-return valve and clean it with an old toothbrush dipped in methylated spirit. Wash the bottle and refill with clean water. Use only additives that are recommended by the manufacturer.
Check that the pipes linking the washer bottle, pump and jets are not kinked or flattened.
Sometimes a misplaced pipe is squeezed by the bonnet lid. If this is happening, re-route or shorten the pipe.
If a pipe is disconnected and the end no longer fits securely, cut a in. (6 mm) from the end.
Soften the pipe end by dipping it in hot water. Reconnect it.
Most jets are the 'eyeball' swivel type, mounted in a socket in a plastic housing. Some types have screws which adjust jet size and direction, and a few are just flattened tubes.
Water from the jets should hit the windscreen about 2 in. (50 mm) from the top of the wiper-blade sweep in mid-arc.
If the jets are wrongly aimed, use a pin in the jet hole to swivel an eyeball jet into the correct position. Adjust screw-type jets with a small screwdriver. Make sure tubes leading to the jets are not pinched or kinked.
To clear a blocked jet, undo the plastic supply pipe and use a piece of thin wire or a bristle from a stiff brush to probe out the dirt.
Checking the wipers
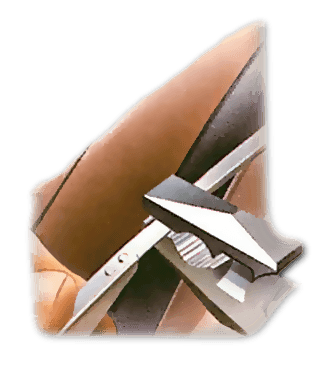
Look carefully at the wiping edge of the rubber blade every time you clean the car. The rubber flexes sideways each time the blade changes direction, and eventually cracks near the edge.
The first sign is usually a split at the end of the rubber or an obvious wavy edge. Fit a new blade or new rubbers (See Replacing and adjusting windscreen wipers ).
Replacement rubbers vary according to the make of car. Make sure you buy the correct type for your wiper blade — use the old one as a guide. Follow the maker's instructions when fitting.
If the wiper blades skate over water on the windscreen, the probable cause is a faulty wiper arm. Fit a new arm.
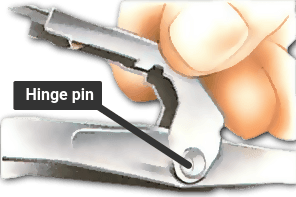
Oil the hinge pin on the wiper arm every time the car is serviced.
A seized hinge pin prevents the springs from pressing the arm hard on to the windscreen, and the blade may skate over it.
Check the hinge pin for wear by gripping the wiper base in the left hand and sweeping the arm back and forth on the windscreen with the right hand.
Slight looseness at the hinge pin is acceptable, but if it is sloppy, fit a new arm.
If the hinge pin is sound and the wipers are still not pressing properly on the screen, the spring in the wiper arm has weakened. Fit a new arm.
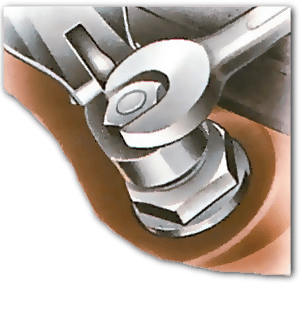
If a wiper blade judders across the windscreen, something is out of alignment. Check that the hinge pin on the wiper arm is sound and that the nuts on the spindle bosses are tight.
If the parts are secure, switch on the wipers and, when the juddering arm is vertical, turn off the ignition so that the arm remains in that position. Remove the blade and let the arm end rest on the glass.
The Ultimate Car Mechanics video course
Learn everything about modern cars from our new video series.
Learn more >-
We build a Mazda MX5 Miata from scratch
We start by tearing down and then rebuilding the whole car.
-
Every part explained
There's ridiculous detail on every part. Clearly and easily explained.
-
All modeled in 3D
We've created the most detailed 3D model ever produced so we can show you everything working.


