Replacing a car door
The Video Course teaches you everything about modern cars.
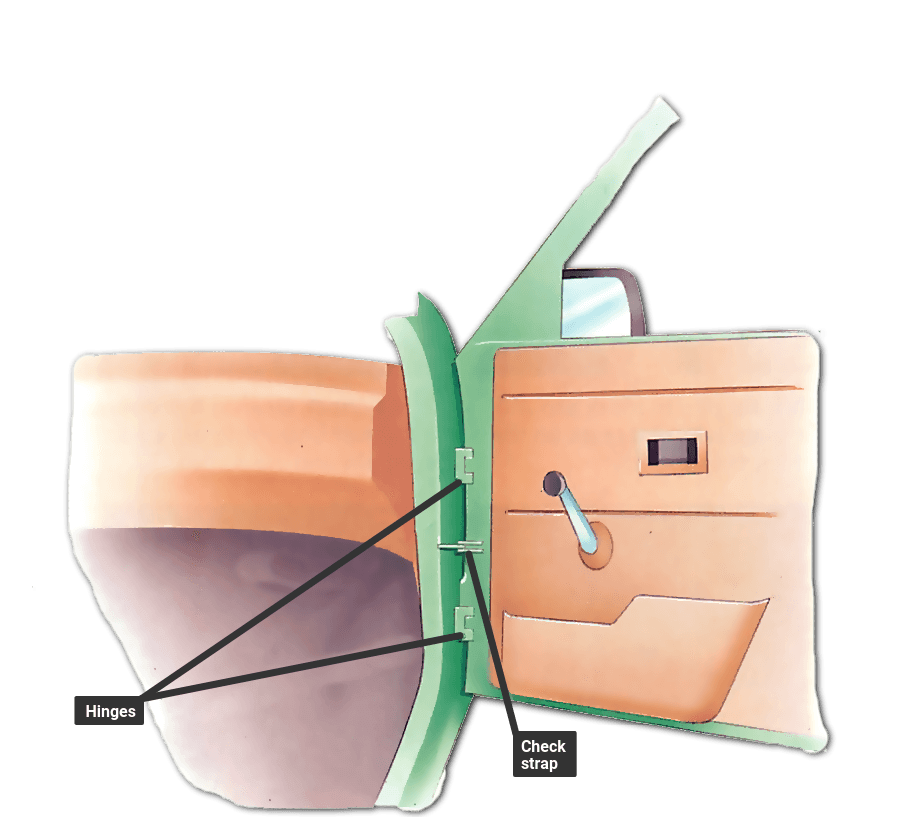
As well as replacing a door because it has become rusted or been damaged in an accident , you may also need to do this job before a respray. With the doors off, the door pillars and inside surfaces can then be resprayed properly.
Check strap
Some doors have a check strap to stop it from opening too far. This has to be disconnected along with any electrical wiring (such as to the speakers) and air ducting before you can take off the door.
The check strap is usually held on by a small nut and bolt or a clevis pin and split pin combination. On some cars the end of the strap is fixed inside the door pillar or frame and you have to take off the kick-strip or door trim panel (see Bodywork 8) to get at the fixings.
Once the fixing is revealed, remove the split pin and clevis pin or the nut and bolt holding the strap. The strap may have an unattached end in the door pillar - if so, after removing the fixed end, tie it up to stop it falling down inside. If the strap is held with a pin crimped at one end, the best way to remove it is to hacksaw it off.
With the check strap disconnected, open the door as far as it will go. Clean the area around the hinges and mark their positions with a felt-tip pen to help with reassembly.
Hinge bolts and pins are often very tight so soak them with penetrating oil and allow time for it to work in before you start to undo them. Then disconnect any wiring from the door (see sideline overleaf for details).
Types of hinge
Below are the three common types of door hinge.
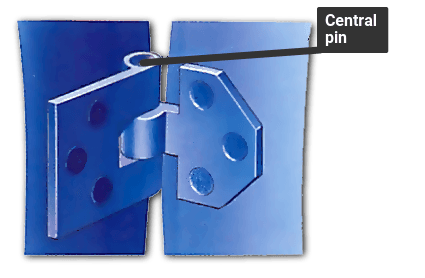
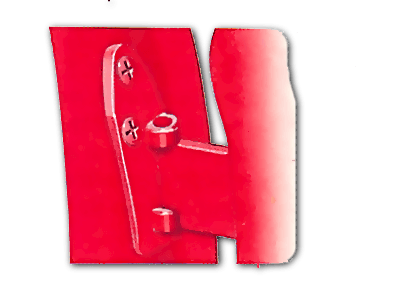
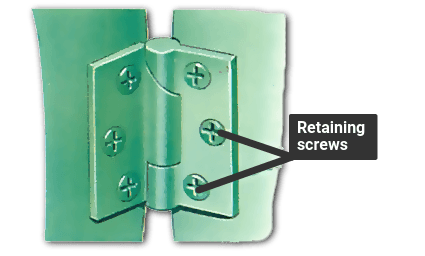
Hinge fixings
The hinges may be held to the door and door pillar by bolts or screws, or they may be bolted on one side and welded on the other. Alternatively, they may be welded to the car and door on both sides and held together by a hinge pin.
If the fixings are screws, use a tight-fitting screwdriver to undo them. You may need to use an impact driver fitted with a suitable end bit to release them.
If the fixings are bolts, use a socket spanner. If they are very tight, again you can often use an impact driver on them by removing the adapter head and fitting a socket directly to the end of the impact driver.
Removing a car door
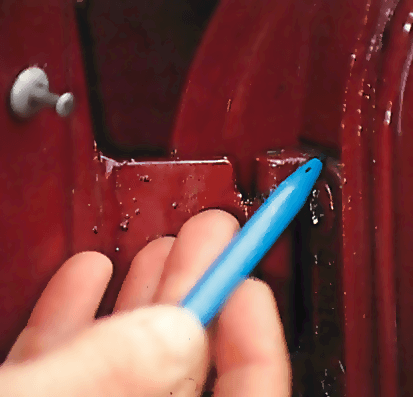
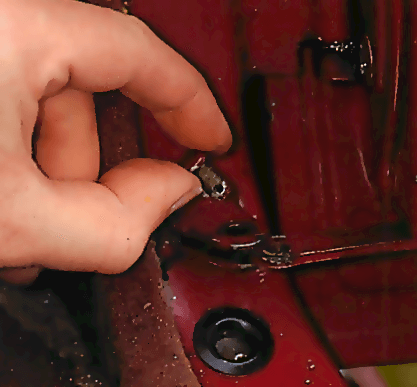
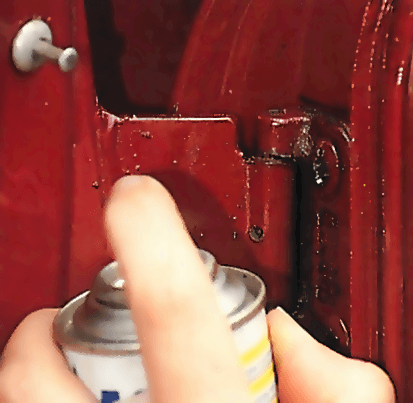
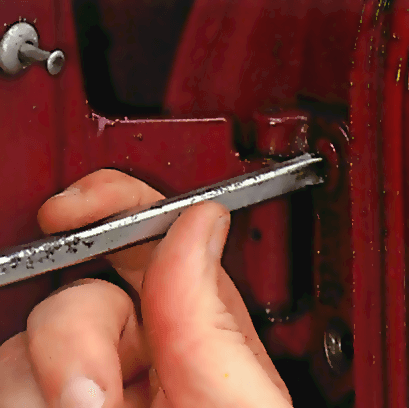
Lift off door
If the hinges are held on by bolts or screws, loosen all the fixings on the top hinge and take them out except for one, and then do the same for the lower hinge. Then get a helper to hold the outer edge of the door while you remove the last two fixings. When they are out, you can lift off the door.
Note whether there are any shims fitted behind the hinges and how many. Keep them somewhere safe. If your door is fixed with hinge pins, drive them out with a drift while a friend holds the door.
Refitting
Get a helper to hold the door while you roughly line up the hinges. Refit any shims and then screw all the bolts or screws into place - don't do them up tight yet.
Move the door until both hinges are in line with the marks you made earlier, then fully tighten the bolts or screws. If the hinges are held by pins, fit new pins by carefully hammering them into place with a drift or the old pin.
Reconnect the check strap and check the action and fit of the door. Adjust it if necessary. Finally reconnect any wiring and air ducts, and refit the trim panel if you removed it.
The Ultimate Car Mechanics video course
Learn everything about modern cars from our new video series.
Learn more >-
We build a Mazda MX5 Miata from scratch
We start by tearing down and then rebuilding the whole car.
-
Every part explained
There's ridiculous detail on every part. Clearly and easily explained.
-
All modeled in 3D
We've created the most detailed 3D model ever produced so we can show you everything working.


