How to replace a car thermostat
The Video Course teaches you everything about modern cars.
If the engine warms up very slowly, or never reaches normal temperature, or if it overheats quickly, the thermostat is probably faulty.
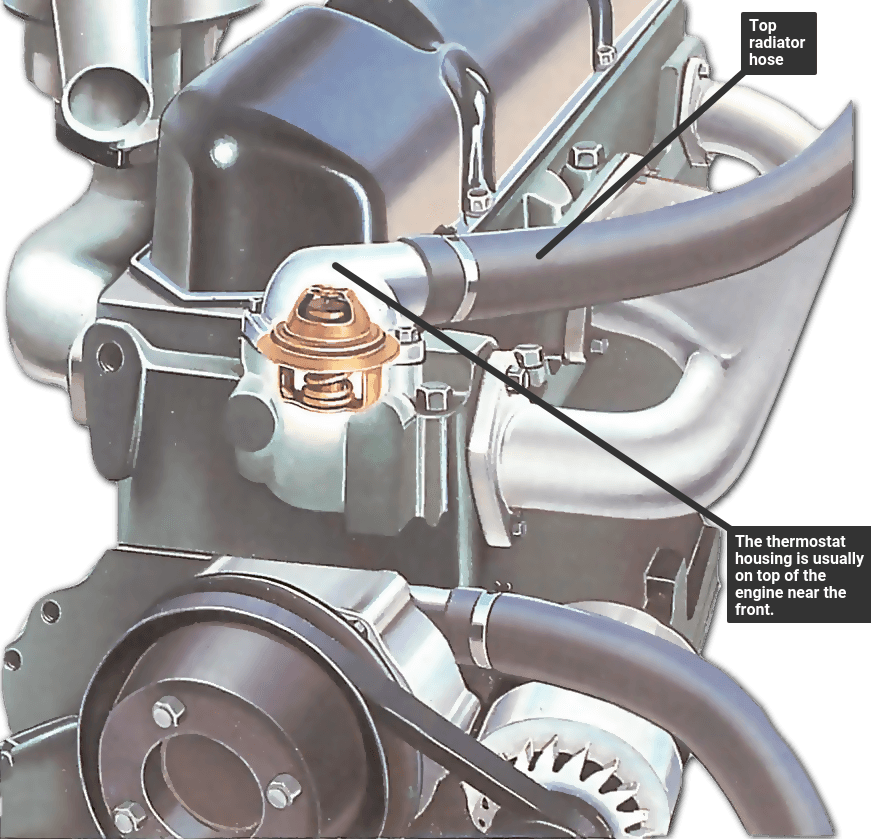
In most cars the thermostat is placed under a housing near the water pump on the cylinder head ; the housing is connected directly to the top radiator hose . In a few cars the thermostat is housed near the bottom hose.
Test the thermostat quickly by starting the engine from cold. Put your hand on the radiator or top hose keep clear of the fan .
If the thermostat works properly, the hose will stay fairly cool for a few minutes, then will quickly warm up.
If the hose warms gradually from the start, the thermostat has stuck open. If the hose does not warm much, but the engine soon gets hot, the thermostat has stuck closed.
Make sure a new thermostat is the correct one for your car. The temperature at which it starts to open is usually stamped on it.
Removing and replacing the thermostat
With a normal top-mounted thermostat you need drain only part of the cooling system . Do not drain it while the engine is hot — you may be scalded. Wait for the engine to cool.
Drain the coolant from the radiator tap, or from the bottom hose, until it is below the level of the thermostat housing.
Drain it into a clean container if you want to reuse it, and filter it through muslin before pouring it back.
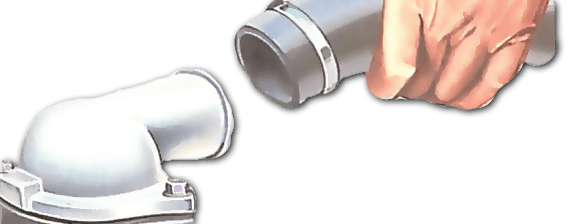
Disconnect the top hose from the thermostat housing by loosening the hose clip and carefully easing the hose off.
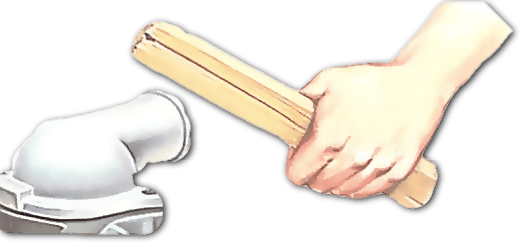
Remove the nuts securing the housing. If the housing does not lift off easily, tap it free with a piece of wood. Do not prise it off with a screwdriver which might damage it and cause it to leak later.
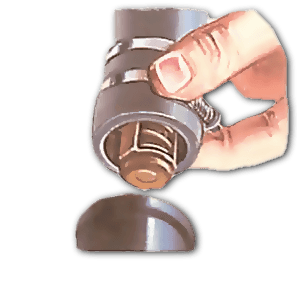
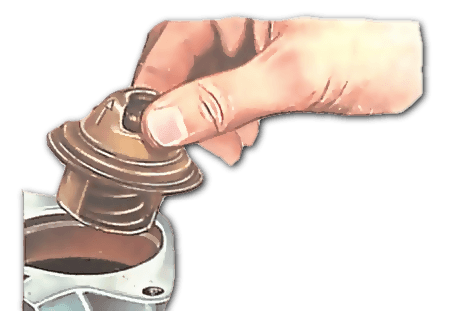
Lift out the thermostat. If the engine is cold but the thermostat is open, it is stuck and must be renewed. Otherwise, test it in a pan of water.
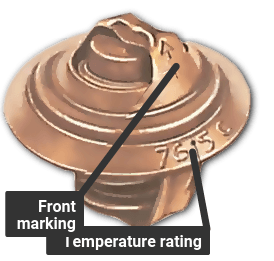
Before inserting a new thermostat, use a scraper to remove all traces of the old housing gasket ; take great care so that you do not damage the housing.
Use a nailbrush or a piece of wood to avoid scratching the metal. Block the opening with rag while you do so, to stop bits of old gasket falling in.
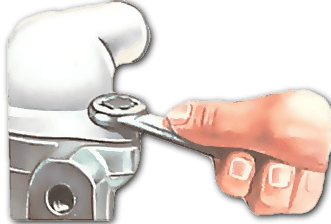
Insert the new thermostat then smear the new housing gasket lightly with a non-setting sealing compound . Fit it and the housing in place. Tighten the housing nuts alternately, to avoid distorting the housing. Be careful not to overtighten them.
Top up the cooling system and repeat the hose-touching test while watching for leaks.
Testing a thermostat in a pan
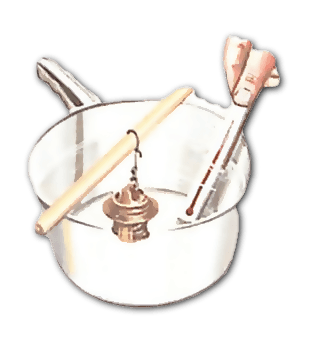
Suspend the thermostat on a string in a pan of water and heat the pan. The thermostat must not touch the sides or the bottom - heat from the metal would spoil the test.
Immerse a cooks thermometer in the water and note the temperature at which the thermostat starts to open. It should be within three or four degrees of the figure marked on the thermostat.
Continue heating to check that the thermostat valve opens fully.
Neither thermostat nor thermometer should touch the bottom.
Thermostat in a top hose
