Adjusting a camshaft timing belt
The Video Course teaches you everything about modern cars.
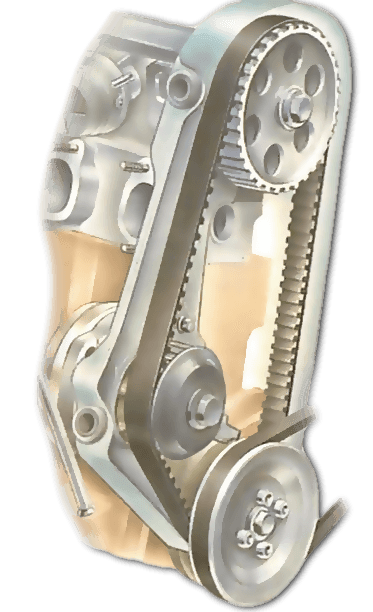
The tension of the toothed belt that drives an overhead camshaft must be checked at the intervals set by the servicing routine laid down in the car handbook. Check it also whenever you remove and refit the belt or the cylinder head .
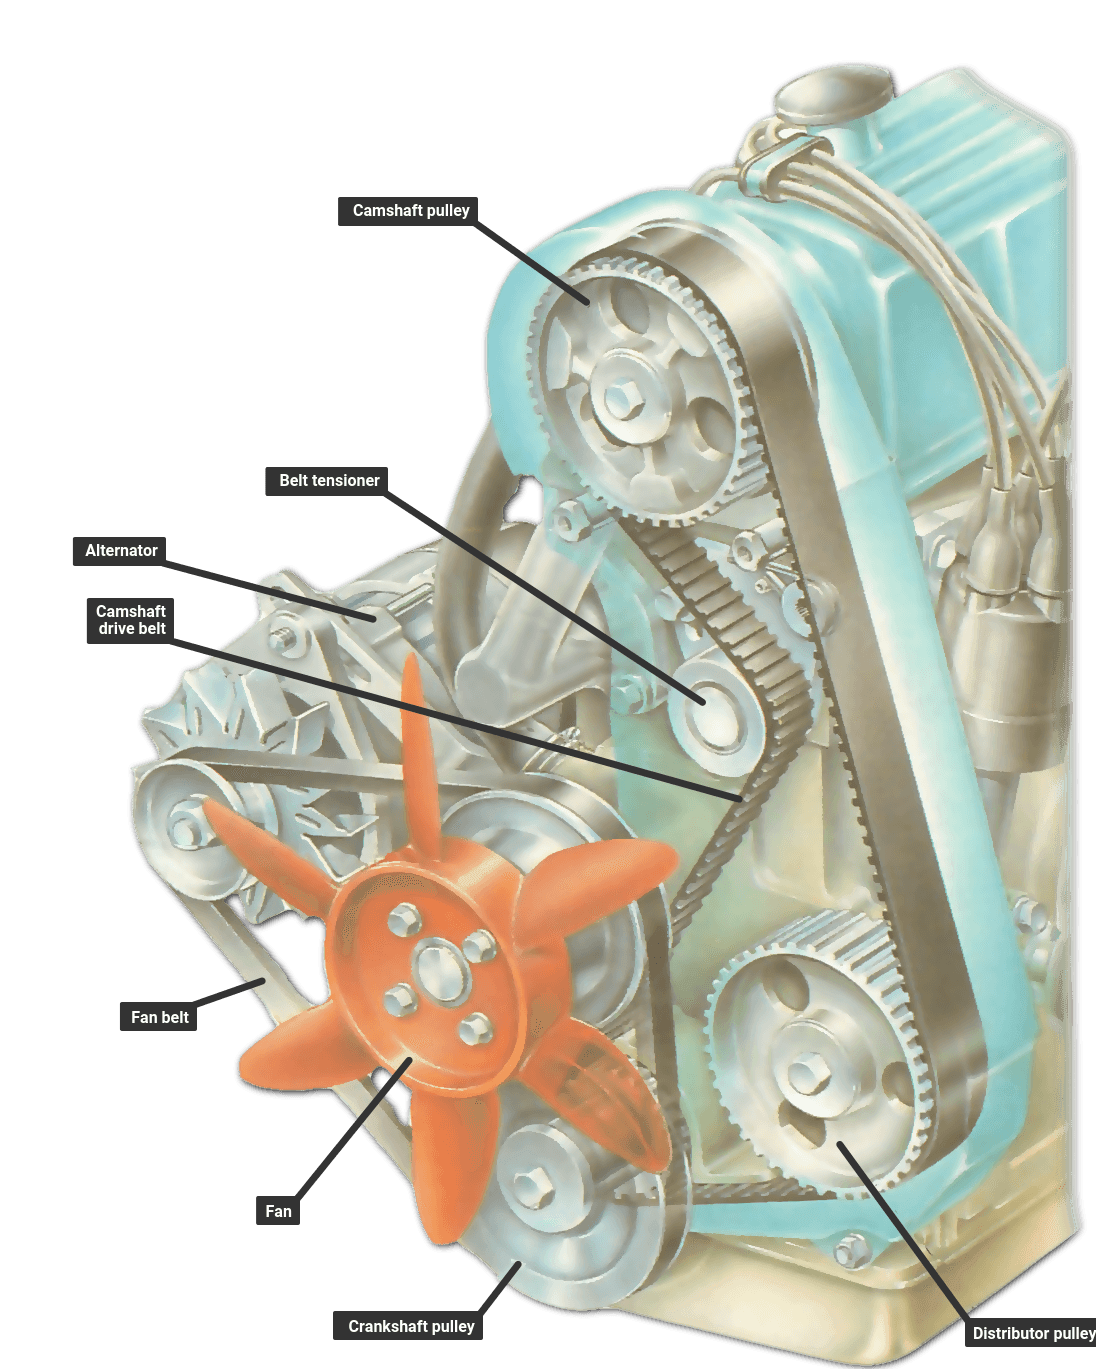
The belt tensioner is an adjustable plate carrying a jockey wheel or roller. If it is wrongly adjusted - whether too loose or too tight - it can cause noise and rapid wear.
Removing the drive-belt cover
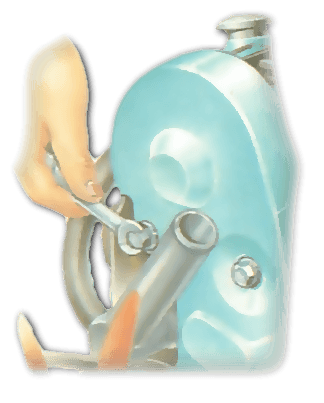
On most engines , some parts have to be removed before you can take the cover off the toothed belt.
Slacken the alternator adjuster bolts and push the alternator towards the engine to loosen the fan belt or alternator drive belt; ease the belt off. When refitting, tension it correctly as detailed in Checking, adjusting and refitting drive belts .
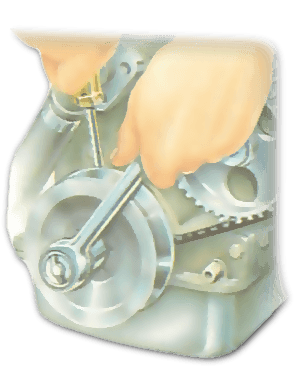
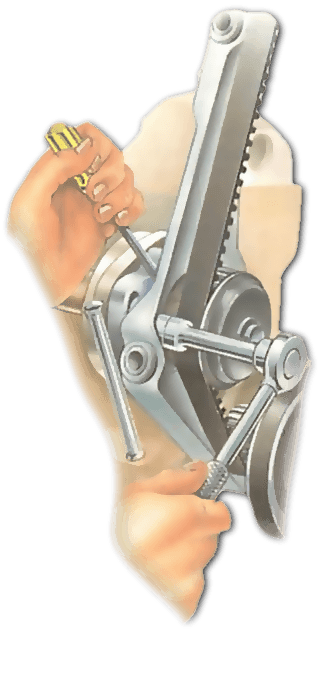
Usually, the cover can be removed without taking off the crankshaft pulley. Sometimes, however, it has to be removed; to . release it, unscrew the pulley retaining bolt and prise the pulley off with a screwdriver.
Unscrew the belt-cover bolts and carefully ease the cover off. The tensioner wheel is below the camshaft pulley.
Adjusting the tension on a Ford belt
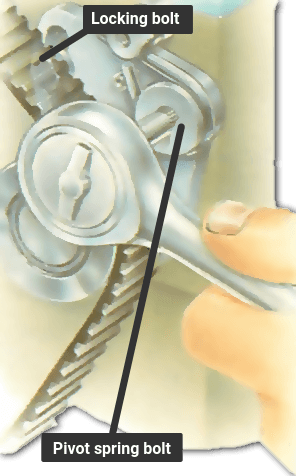
The tension is set automatically by a spring when two bolts are slackened — a locking bolt and a pivot-spring bolt.
Slacken the locking bolt, on the left, first. To slacken the pivot-spring bolt you need a specially splined tool that fits into a socket-wrench handle; it can be bought at a Ford dealer's spares department or at most car accessory shops.
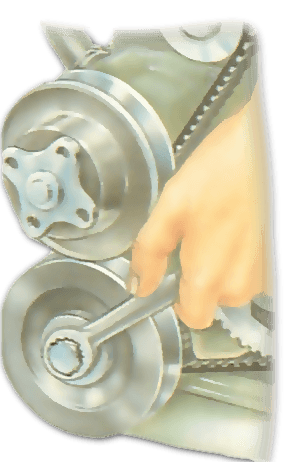
To even out the tension in the belt, use a spanner or socket wrench on the crankshaft-pulley bolt and turn the crankshaft two full turns clockwise .
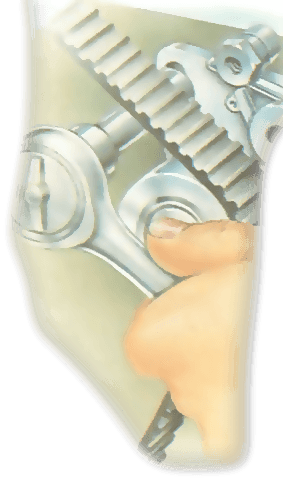
Tighten the locking bolt, then use the splined tool in a torque wrench to tighten the pivot-spring bolt. It has to be tightened to a precise torque setting; check the figure with a dealer or the car service manual.
Refit the drive-belt cover and fan belt.
Adjusting the tension on a Leyland '0' series belt
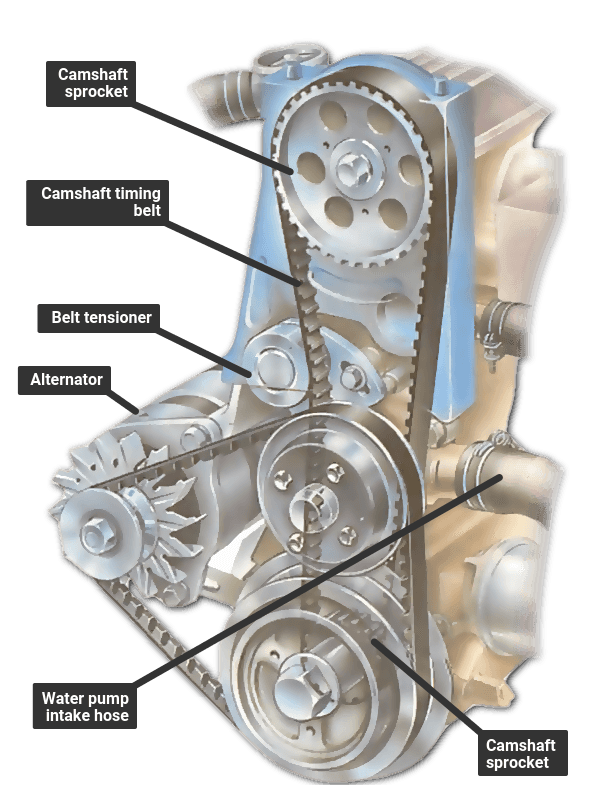
The belt tensioner has no automatic spring. To measure the tension, use a spring balance with its hook bent to an L shape to fit flat against the belt. (If necessary, use a separate L hook.) The spring balance must be capable of measuring at least 13 lb (6 kg).
Fit the hook to the belt midway between the camshaft and crankshaft sprockets , at the level of the water-pump intake-hose stub. Pull the spring balance until the edge of the belt is in line with a raised mark on the water-pump intake-hose stub.
The balance should read 11 lb (5 kg) for a used belt, 13 lb (6 kg) for new belt. If it does not, adjust the tension.
The tensioner is a roller which bears on the outside face of the belt. It has two adjustment bolts, one of them fitted over a slot. Slacken both bolts just enough to let you slide the tensioner.
Move the tensioner as necessary to tighten or loosen the belt. Lock it by tightening the bolt over the slot.
Re-check the tension and readjust if necessary. When it is correct, tighten both bolts and refit the timing-belt cover and fan belt.
Adjusting the tension on some VW, Vauxhall and similar belts
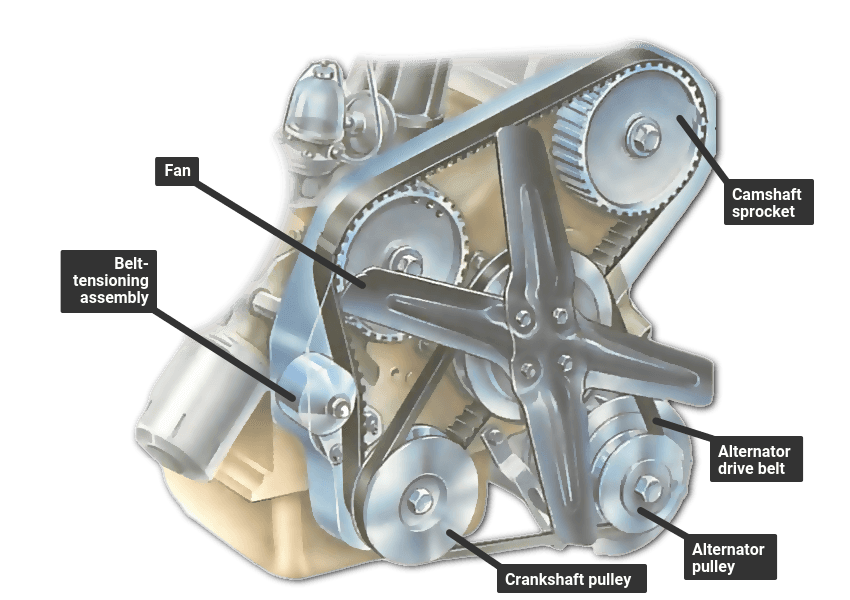
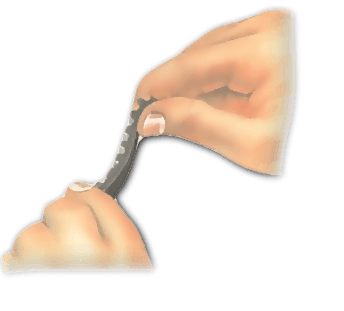
The belt tensioner has no automatic spring. Check the tension by twisting the belt with your thumb and forefinger, midway along the longest straight run between the two main sprockets.
If the belt tension is correct, you should just be able to twist it through 90 degrees. If you can twist it more or less than this, the tension needs to be adjusted.
Slacken the single nut in the slot of the tensioning assembly. Slide the tensioner clockwise to increase the tension, the other way to reduce it.
Tighten the tensioner nut and check the tension again. Readjust if necessary.
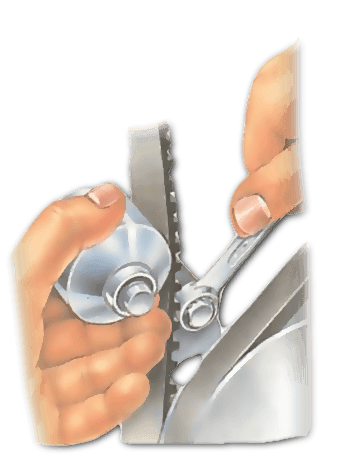
On some VW cars, the belt tension is adjusted by slackening the water- pump securing bolts and levering the pump away from the cylinder block.
When the belt tension is correct, refit the timing-belt cover and alternator drive belt.
Tensioner on a water pump
The Ultimate Car Mechanics video course
Learn everything about modern cars from our new video series.
Learn more >-
We build a Mazda MX5 Miata from scratch
We start by tearing down and then rebuilding the whole car.
-
Every part explained
There's ridiculous detail on every part. Clearly and easily explained.
-
All modeled in 3D
We've created the most detailed 3D model ever produced so we can show you everything working.
