Checking the emission valve and breather
The Video Course teaches you everything about modern cars.
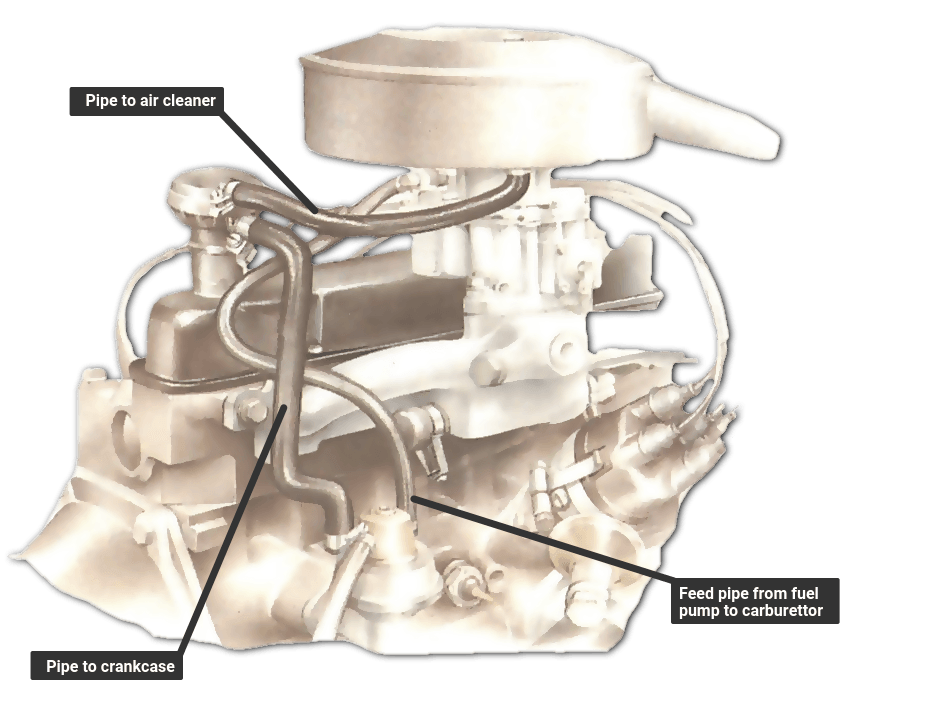
The crankcase emission valve governs the amount of crankcase oil fumes that are recycled into the inlet manifold for combustion in the cylinders .
The emission valve and its pipes must be cleaned and checked periodically, otherwise engine performance and fuel economy may suffer.
The valve is usually a sealed unit, but some can be dismantled. It is normally located near the side of the engine crankcase or rocker/cam cover, depending on the engine type.
Never run the engine with the emission valve or pipes disconnected from the engine.
Checking valve operation and cleaning emission pipes

To check the valve for correct operation, attach a clean length of rubber or plastic pipe to the larger end of the valve - the rocker/cam or crankcase end - making sure that the pipe is a tight fit .
Blow through the pipe and check that air passes through the valve easily. If it does not, either the valve is blocked or the spring inside is broken and is holding the valve in the closed position. If further cleaning does not help, fit a new valve.
Disconnect the pipe and reconnect it to the other end of the valve - the inlet-manifold end.
Blow through the pipe. Only a limited amount of air should pass with difficulty through the valve.
If air flows freely, then either the valve is jammed in the partly open position because of dirt or a broken spring, or the valve is worn and should be renewed.
Disconnect and remove from the engine all emission-system pipes associated with the valve.
Use a foot pump to blow through each pipe to remove dirt and oil. On short lengths of pipe, you can usually flush out dirt with paraffin and blow dry with the foot pump.
Check the condition of the pipes and look for cracking or chafing on the outside of the rubber, particularly where the pipes bend and at the ends where they may be cut through by a tightly fitting clip.
Replace defective pipes; a leaking pipe will weaken the mixture entering the engine.
Reconnect the emission-system pipes and the valve in the reverse order of removal, making sure all connections are clean and tight.
Removing and cleaning the valve
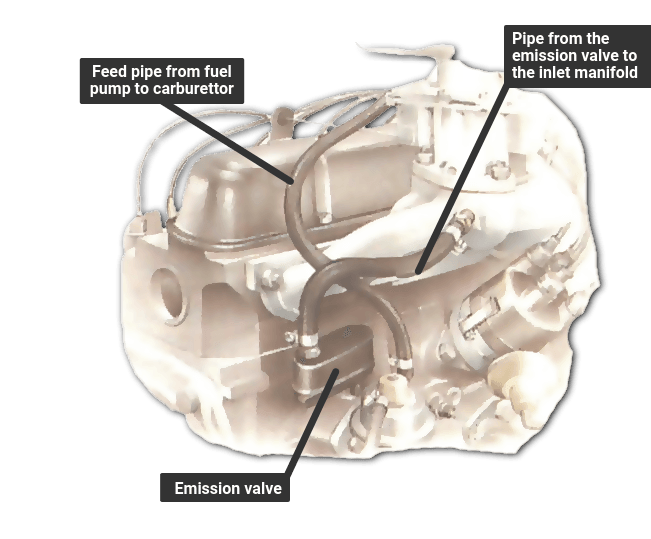
Release the clip and disconnect the pipe from the upper end of the valve.
The way the valve is removed depends on the particular engine.
Normally it is a push fit in either the rocker/cam cover or a small box or pipe attached to the crankcase.
Clean a sealed valve thoroughly by immersing it in paraffin to loosen oil deposits inside. Bear in mind the fire risk - do not smoke, for example.
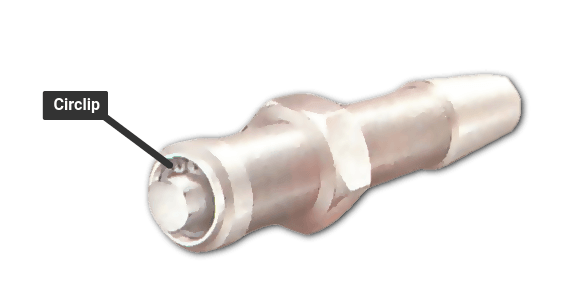
Some types od valves can be dismantled for cleaning by removing a small circlip inside the lower end of the valve body, then removing the valve and spring. Check the components thoroughly for blockages and broken parts, clean, then reassemble.
Use circlip pliers to free the circlip in this type of valve. Tap the valve body to release the valve, valve seat and spring, noting their order of assembly. Wash each part and the valve body in paraffin or petrol.
The valve is mounted next to the crankcase. To remove it, release the clip holding the pipe and disconnect the pipe from the valve.
Cleaning a breather unit

Crankcase breather units may be sealed containers - sometimes called oil separators or flame traps - and are incorporated in the crankcase breather-system pipework.
The breather unit should be removed and cleaned periodically, or replaced to remove any build-up of oil sludge and other deposits that reduce engine performance.
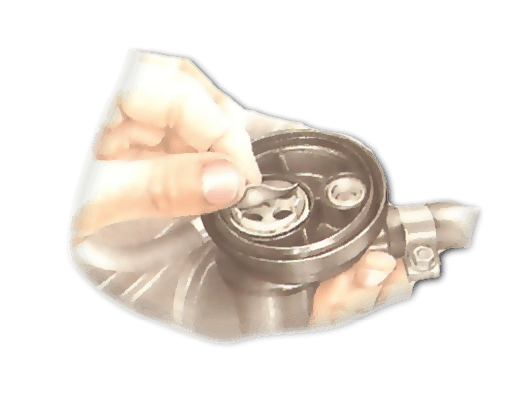
Remove the breather unit, either by disconnecting the pipes or detaching it from its mounting on the engine.
A breather filter is sometimes fitted inside one of the shaped pipes.
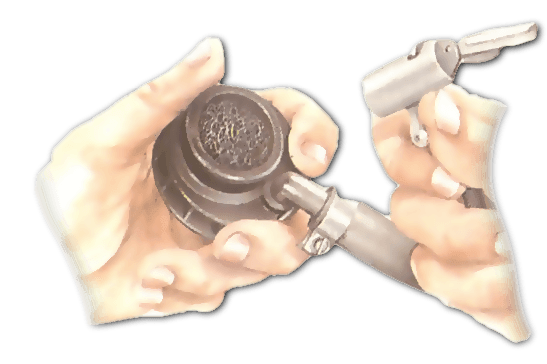
Clean the breather filter by immersing it fully in paraffin. Allow it to soak for some time to dissolve any oil and sludge inside.
The Ultimate Car Mechanics video course
Learn everything about modern cars from our new video series.
Learn more >-
We build a Mazda MX5 Miata from scratch
We start by tearing down and then rebuilding the whole car.
-
Every part explained
There's ridiculous detail on every part. Clearly and easily explained.
-
All modeled in 3D
We've created the most detailed 3D model ever produced so we can show you everything working.


