Curing running on
The Video Course teaches you everything about modern cars.
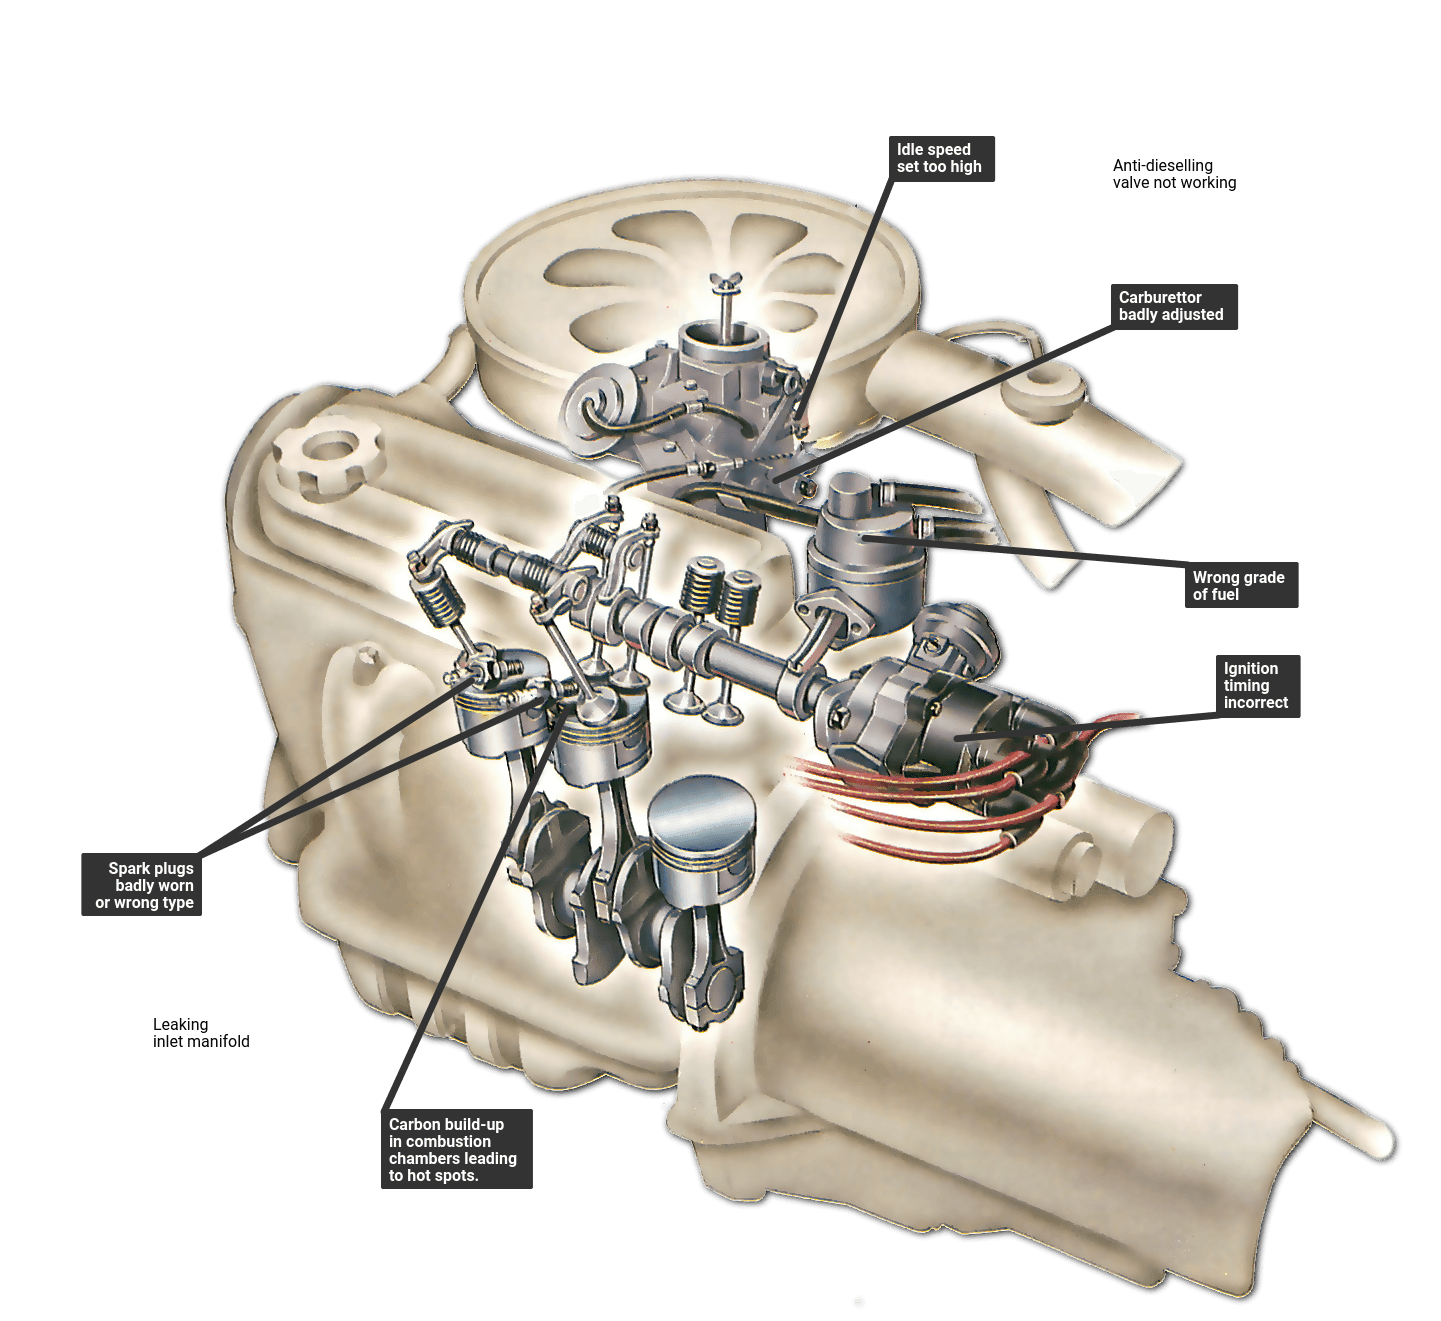
Running-on is when the engine continues to turn after you've switched off the ignition because the fuel /air mixture is being ignited by a hot-spot in the combustion chamber . Furthermore, because the mixture is often firing at the wrong point in the cycle , the engine does not run smoothly but jerks and rocks badly on its mountings (and sometimes backfires ). The problem can be so bad that the engine runs on for a minute or more if left alone.
Running-on is not good for your engine and it can cause serious damage if you allow it to go on for too long. A stop-gap measure (if your car is manual) is to put the car into gear and stall the engine; but this doesn't solve the problem in the long term.
Why it happens
There are a number of reasons for the engine developing a hot-spot that leads to running-on, some of which are easy to check and cure, while others are more difficult.
The simplest causes are that the wrong grade of petrol is being used (usually of too low octane ), the spark plugs are faulty or of the wrong grade, the carburettor is badly out of tune, or the ignition timing is faulty. You should check all these before going on to consider more serious causes such as excessive carbon build-up.
Spark plug checks
First take out all the spark plugs and examine them carefully. Look at the electrodes and the nose of the insulator for any signs of overheating. The plugs should have a light brown coating all over - if they appear white or glazed, they have been overheating.
If the existing plugs are old, it's worth replacing them with a new set to see if that cures the problem. Make sure that they are the correct type for your car.
If the problem initially goes away and then quickly recurs, the standard grade of plugs may be unsuitable for your particular engine. Check with your dealer or handbook to see whether the car manufacturer specifies different types of spark plug for different driving conditions, for example, a cooler running plug may be required for mainly fast driving, while for driving around town a hotter one may be specified. Remember that if you fit cooler plugs because most of your driving is on motorways, they will foul up more quickly around town.
Checking the ignition and fuel systems
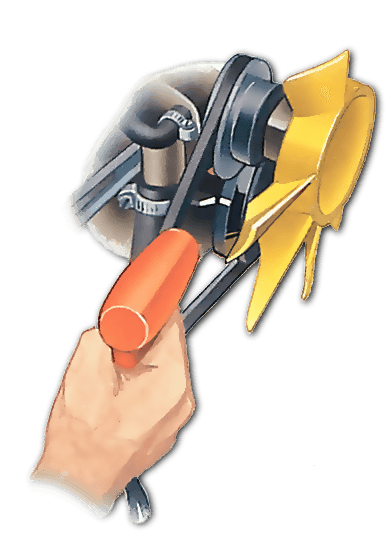
Take out the spark plugs and check them for signs of overheating or weak mixture.
Use a timing light to check that the ignition timing is accurately set.
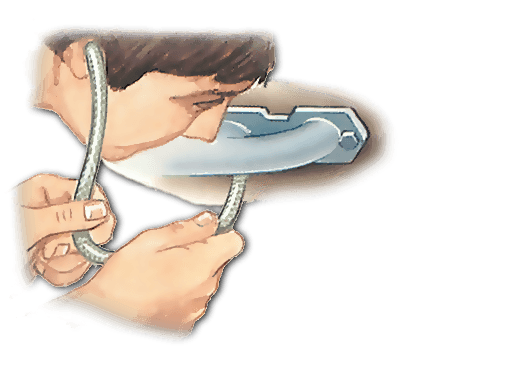
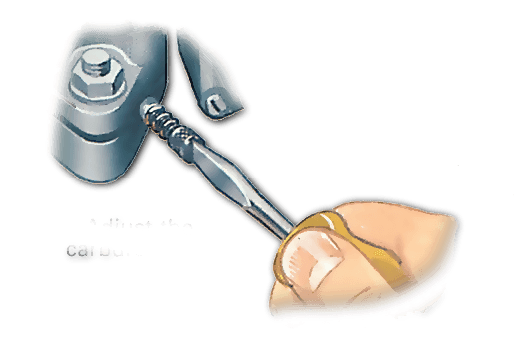
Use a hose to check that there are no leaks into the inlet manifold , and adjust the fuel/air mixture to the correct setting.
Check engine tune
If the spark plugs aren't at fault, you should next check the ignition timing. Usually, you will have had other warning of overadvanced timing, such as pinking under hard acceleration.
It is best to check the timing stroboscopically with the engine running - this is far more accurate than doing it statically.
Air leaks
If running-on still persists, your next avenue of investigation is the fuel system. The problem may be caused by a weak fuel/air mixture because of a badly adjusted carburettor or air leaking into the inlet manifold. A weak fuel/air mixture can make the engine run much hotter than it should.
First make sure the air filter is clean and correctly fitted. Follow all the emission system pipes that connect to the filter or carburettor to check that none is disconnected or split.
If all else seems well so far, start the engine and listen for a hissing or sucking sound from any of the joints between the carburettor and inlet manifold, or the inlet manifold and engine. Don't forget to check where any pipes or hoses join the manifold. Try not to confuse the sound with the normal intake roar through the carburettor.
If you think you may have found a leak, use a piece of tube as a stethoscope to listen along the joint to make sure. As a further check, paint a little oil on to the joint with an old paint brush - if there is a leak you will see the oil disappearing into the hole. Replace any suspect gaskets .
If the manifold is leak-free, turn your attention to the carburettor. Tune the carburettor (see the appropriate Mechanics sheet for your variety of carburettor) until the fuel/air mixture is correct. Also check that the idling speed is not set too high because this can cause running on. If you have trouble getting the carburettor to tune, there may be wear in the carburettor itself. If it is beyond saving, you need a new or reconditioned carburettor. You may be able to save money by getting one from a scrapyard.
Checking an anti-diesellinq valve
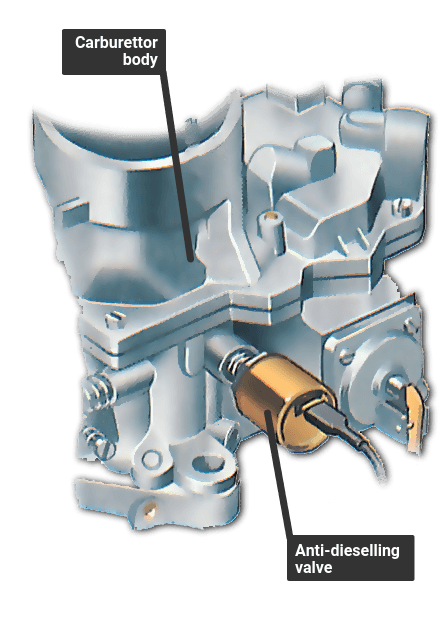
The anti-dieselling valve fitted by the car manufacturer is usually the type built into the side of the carburettor, rather than an air bleed valve connecting to the inlet manifold.
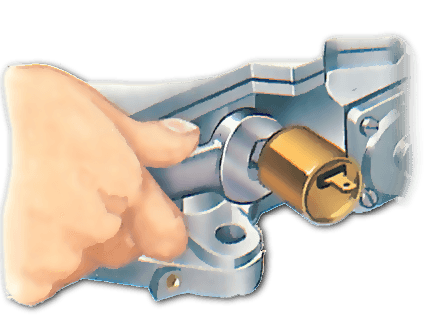
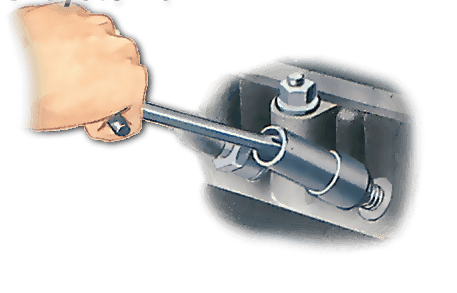
To check the valve, disconnect the wire and carefully unscrew the valve from the side of the carburettor using an open-ended spanner. You can usually get it out without removing the carburettor.
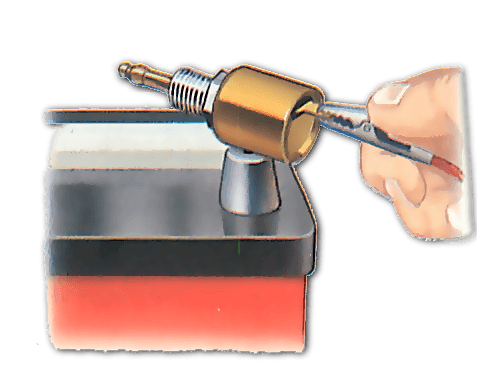
Use a jumper lead to connect the live terminal or wire on the valve to the battery positive terminal, and touch the casing of the valve to the negative. If the valve works, there will be a click and the rod in the end will retract.
Anti-dieselling
The other point to check on the carburettor is the anti-dieselling valve (if your car has one). If this valve is the type built into the side of the carburettor, which shuts off the fuel flow to the idle jet when the ignition is switched off, then it can stick in the open position, allowing fuel to flow through and causing running-on.
To find the valve, consult your dealer or check in a workshop manual to see if your car has one. If you can't find this information, look at the outside of the carburettor for a barrel-shaped object with a wire coming from it.
To check if the valve is working, disconnect the wire that connects the valve to the electrical system, then use a spanner to unbolt the valve from the carburettor. Connect the wire or terminal on the valve to the positive battery terminal, and touch the body of the valve to the negative. If the solenoid in the valve works, you will hear a click, and the small rod that pokes out of the valve will move inwards.
If the valve doesn't do this, it needs replacing. But if it works, then the electrical system may be faulty. Clip your test lamp to earth and probe the wire on the car that feeds the valve while a friend turns the ignition on and off. The test lamp should come on and go off with the ignition.
Fitting an air bleed valve
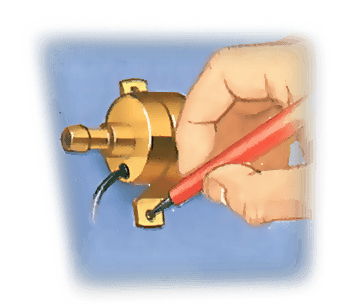
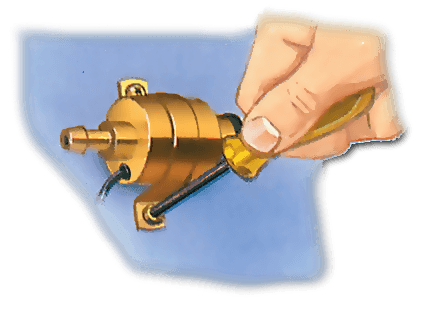
Most air bleed valves mount on the car bodywork and connect to the inlet manifold by a short length of flexible hose. The hose can be plumbed into any existing hose to the manifold (such as the emission control system) or to a spare stub on the manifold. If there is only a single stub on the manifold with a hose already on it, you may be able to get a Y-adapter piece and connect the existing hose to one stub and the new one to the other.
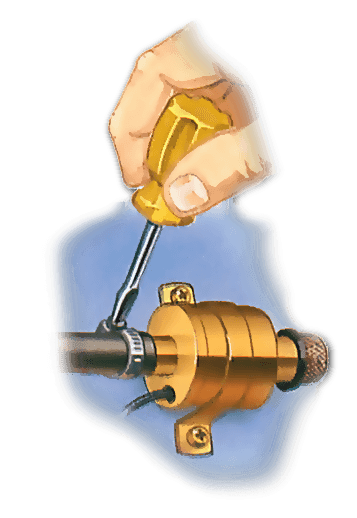
Offer up the bleed valve to the inner wing and mark the hole positions. Use a hammer and centre punch to dent the hole position and prevent the drill slipping. Drill out the holes, taking care not to damage anything on the other side of the panel.
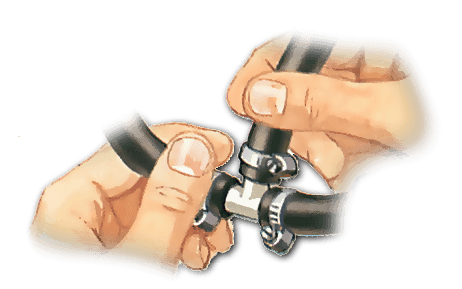
Attach the valve to the car with self-tapping screws. Push the flexible hose over the stub on the valve, and secure it with a clip. Run it down to your chosen take-off point on a hose or the manifold. If you are connecting into a hose, cut the hose, fit a T-piece and fit all the hose ends to it. Secure them all with clips.
If you are attaching to an adapter, remove the existing adapter or blanking plug and screw in the new adapter in place. Attach the hose to the stub and secure it with a clip.
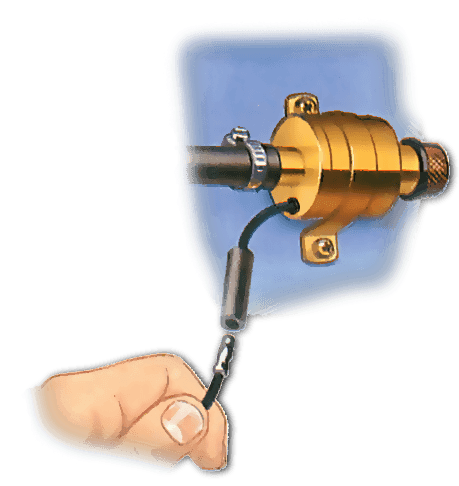
Crimp a suitable connector to a length of wire and push it on to the bleed valve. Run the wire from the valve to an ignition-controlled live feed. Connect it in. Ask a friend to turn on the ignition, and listen to the valve —you should hear a distinct click as the ignition is turned on. Start the engine and check that it runs well and that the running-on is now cured.
Serious problems
If you still haven't traced the cause of the problem, then it's most likely to lie within the combustion chamber itself. Unfortunately there's not much you can do to check where the problem lies without going to the trouble of taking off the cylinder head first.
If your car has covered a high mileage or done a lot of short journeys, then the engine is most likely to need a decoke. The best way to do this is to remove the cylinder head and clean out the combustion chambers.
But before you go to the bother of decoking, consult your dealer or an engine tuning specialist to find out whether your particular car is susceptible to running-on. If so, you may find that later models were modified with an air bleed valve to help overcome the problem, and you can fit the parts from one of these models to your car.
The Ultimate Car Mechanics video course
Learn everything about modern cars from our new video series.
Learn more >-
We build a Mazda MX5 Miata from scratch
We start by tearing down and then rebuilding the whole car.
-
Every part explained
There's ridiculous detail on every part. Clearly and easily explained.
-
All modeled in 3D
We've created the most detailed 3D model ever produced so we can show you everything working.
