Replacing lever-arm dampers
The Video Course teaches you everything about modern cars.
Front lever-arm damper
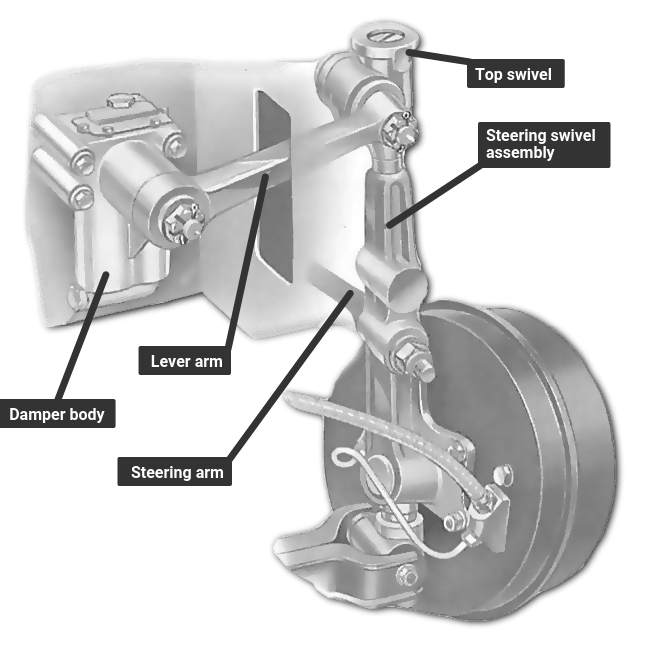
A lever-arm damper on the front often acts as part of the suspension unit.
Loosen the front wheel nuts, jack up the front of the car, place axle stands under the chassis members and chock the rear wheels. Remove the front wheels.
Put the jack under the bottom suspension arm on one side. Raise the jack to push the arm up and to take the weight off the damper arm.
The steering arm may be in the way. If so, free it using a ball-joint separator ; you may be able to hire a scissor type.
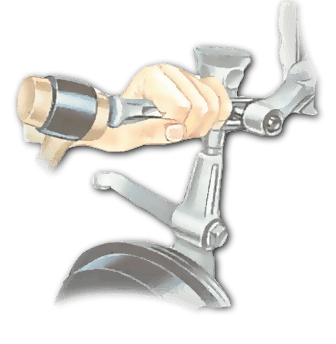
Alternatively, it may be possible to separate the joint by a sharp hammer blow. Unscrew the nut until it just covers about three or four threads at the end of the ball-joint pin. Hit it with a soft-faced hammer in order to break the seat. When the joint is free, separate the two parts and move the steering arm out of the way.
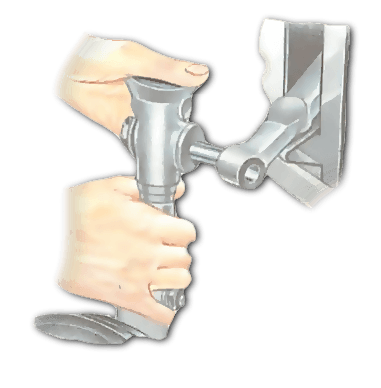
Undo and remove the bolt that fixes the lever-arm damper to the steering swivel (or stub axle). The damper body may be bolted to a chassis member, subframe or the inner wing. Undo the fixing bolts, and lift it away.
Rear damper
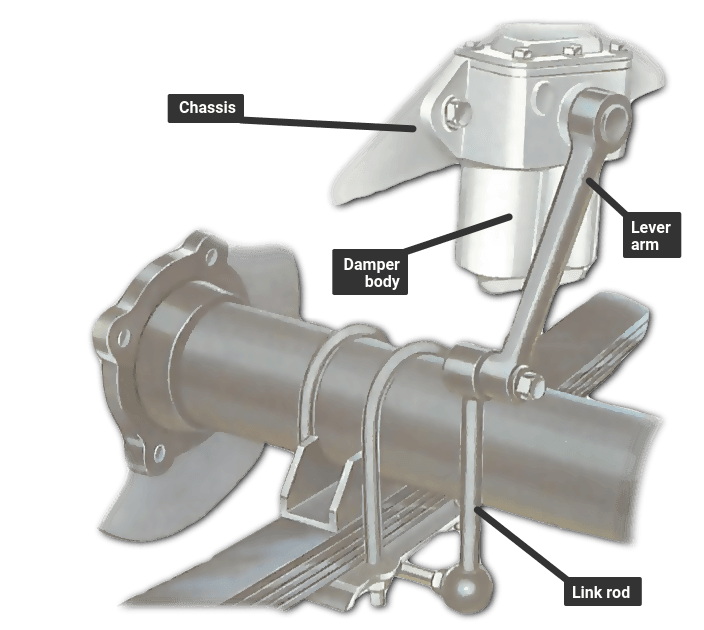
The rear lever-arm damper is a separate part of the suspension. There is generally no need to disturb the rest of the rear suspension.
Loosen the rear wheel nuts, jack up the back of the car and place axle stands under the chassis members. Chock the front wheels. Remove the rear wheels.
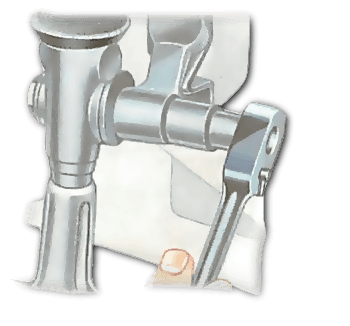
Undo and remove the nut and bolt which holds the damper arm to the connecting link. Undo the damper fixing bolts and lift away.
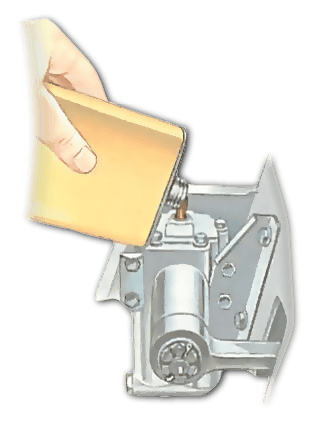
How to top up a damper
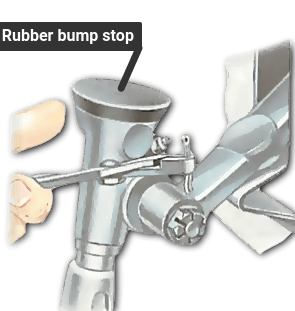
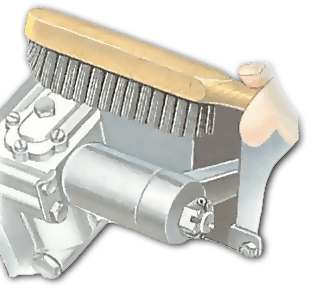
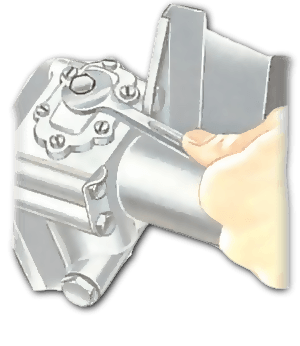
The filler plug is on the top. Wipe around the area to clean off road grime. Remove the filler plug with a spanner or large-bladed screwdriver. Top up with damper fluid specified by the manufacturer.
A lot of topping up means a leak; replace the damper.
Renewing a front lever-arm damper
The lever arm may be secured to the top swivel by a castellated nut and split pin. Remove the pin with pliers and undo the nut. Use a ball-joint separator to free the arm from the tapered mounting pin, and pull the whole assembly clear.
Undo the bolts holding the damper to the chassis. Fit the new damper in reverse order of removal.
The Ultimate Car Mechanics video course
Learn everything about modern cars from our new video series.
Learn more >-
We build a Mazda MX5 Miata from scratch
We start by tearing down and then rebuilding the whole car.
-
Every part explained
There's ridiculous detail on every part. Clearly and easily explained.
-
All modeled in 3D
We've created the most detailed 3D model ever produced so we can show you everything working.
