Checking the rear axle for leaks and changing the oil
The Video Course teaches you everything about modern cars.
A rear- axle oil leak is easy to miss. The axle works normally until it suddenly seizes up - the expensive and possibly dangerous result of it running dry of oil.

The clearest sign of a leak is oil on the ground under the car. Oil leaks from the hub oil seals of a live rear axle (See Replacing transmission oil seals ), may also leave traces on the inner surfaces of the wheels, or even get into the brakes .
Leaks on to the wheels or brakes may also be caused by defective wheel bearings (See Removing wheel bearings ).
Axle oil is thick when cold and unlikely to drip out of a very small opening, but it flows freely when warm after a run.
Any drip marks will probably be where you first parked the car after returning from a run. Within an hour the oil thickens as it cools and stops dripping.
If you are not sure whether there is a leak, put a sheet of paper under the axle.
On cars more than a few years old the axle oil should be changed at the recommended intervals, as listed in the car handbook.
You should also check the oil level, generally every 6,000 miles or 10,000 km, or at the interval recommended in the handbook.
Later cars have 'sealed for life' axles whose oil never needs changing. These axles do not have a drain plug. But they, too, can leak and need refilling, which is done through the plug hole by which they were filled originally.
The axle must be drained to cure any serious oil leak.
Fixing a leaking axle
Once you have a rough idea of where the leak is located, clean the area with a proprietary solvent and drive the car for a few miles to warm the oil and restart the leak. This should show its exact source.
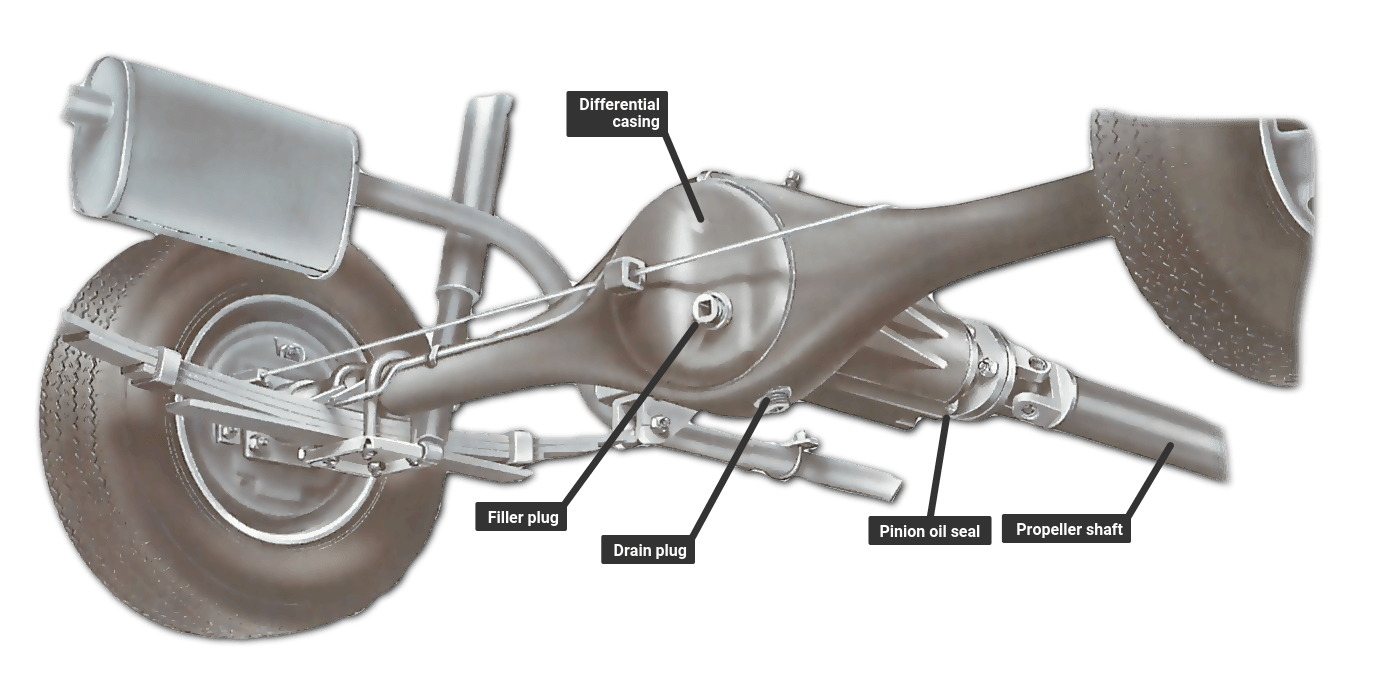
The leak may come from a damaged drain or filler-plug washer. The gasket between the differential carrier and the axle may fail, especially if it was fitted incorrectly. There is also a pinion oil seal at the front end of the differential casing. Oil leaking here runs down the slope of the carrier and drips off the bottom: look carefully.
The half-shaft oil seals can also fail, causing internal leaks into the hubs, which are harder to spot. The breather valve on top of the axle, where fitted, can also become blocked. This causes oil and air to build up inside, which may force oil out of leak-prone places.
Overfilling the axle with oil can also raise the pressure enough to cause leaks.
Some rear-wheel-drive cars with independent rear suspension may leak oil from the drive-shaft oil seals.
This can be dangerous where the brakes are mounted next to the differential casing. Oil leaking on to the brakes can impair their efficiency seriously.

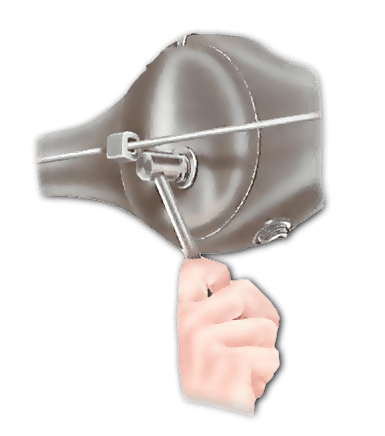
If a drain or filler plug leaks, be sure to replace the washer with one of exactly the right size and type. The plug may have a recessed socket and need a special tool to turn it, or the square drive on a socket wrench may fit the recess. Tighten the plug firmly, but not too much or the washer and the threads may be damaged.
Some plugs are slightly tapered and form an effective seal by jamming their threads as they are tightened. This type of plug does not have a sealing washer, and care must be taken not to overtighten it, or it may be very difficult to remove later.

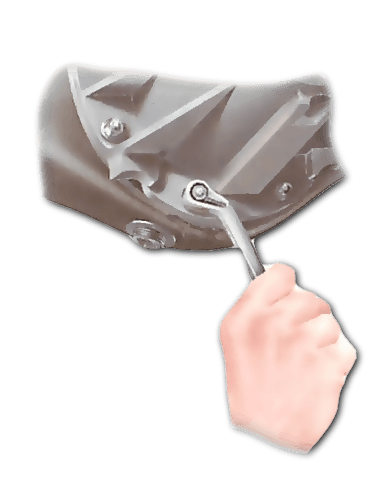
A slight leak from the differential carrier gasket can sometimes be cured by tightening the nuts, without draining the axle. To replace the gasket, you usually have to remove the half shafts and the differential gears to release the carrier - a task best left to a garage.
Some dismantling is also needed to replace the half shaft or pinion oil seal (See Replacing transmission oil seals ).
However, some axles have a cover plate at the rear of the differential. held on by screws or bolts.
To replace a leaking gasket here, drain the oil, remove the screws, take off the plate, clean the mating surfaces and fit a new gasket.
Make sure the mating surfaces are clean and free from damage before fitting any new gasket. Smear a little gasket sealer on both sides of the gasket. When you refit the carrier or cover plate, tighten the nuts in diametrical sequence to spread the pressure evenly. Always check that the breather valve is clear and working, and unblock it if necessary.
Use new oil of the correct type, as given in the car handbook, to refill the axle. If using a squeezable plastic bottle, stand it in hot water for a few minutes to thin the oil. Do not overfill.
Draining and refilling the axle
Drive the car a few miles to warm the oil and make it flow freely.

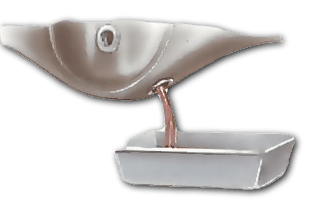
Clean around the drain plug and filler plug, and put a large container under the drain plug to catch the old oil.
Unscrew the drain plug. If there is no drain plug, clean the central part of the axle, take off all the nuts holding the differential carrier to the axle and loosen the carrier enough to allow oil to flow from the axle.
Leave the axle to drain for several minutes. Do not pour the old oil down the drain - a garage or local council refuse department will tell you how to dispose of it safely. Replace the drain plug, not too tightly. Fit a new washer if the plug is the type that has one. Refit the carrier nuts if they have been removed, tightening them in diametrical sequence.

Remove the filler plug, which usually takes the same tool as the drain plug. Refill with axle oil, which is sold in squeezable plastic bottles with a long spout to make the job easy. Squeeze in the oil in small amounts, allowing time for it to find its own level.
The correct level, up to the bottom of the filler hole, is reached when the oil stops dripping out the hole.
The Ultimate Car Mechanics video course
Learn everything about modern cars from our new video series.
Learn more >-
We build a Mazda MX5 Miata from scratch
We start by tearing down and then rebuilding the whole car.
-
Every part explained
There's ridiculous detail on every part. Clearly and easily explained.
-
All modeled in 3D
We've created the most detailed 3D model ever produced so we can show you everything working.


