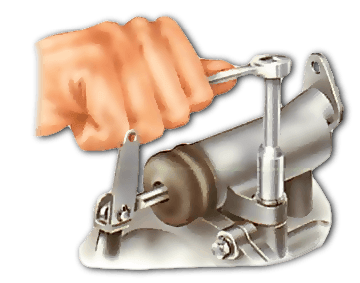
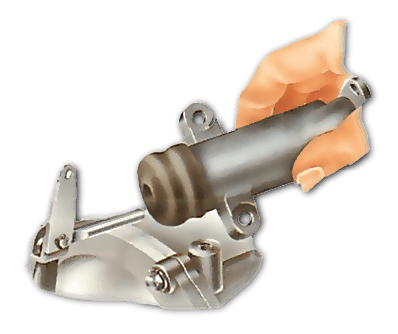
Fitting new clutch seals and removing a slave cylinder
The Video Course teaches you everything about modern cars.
Replacing clutch master-cylinder seals
Always renew the seals whenever you dismantle the master cylinder or slave cylinder .
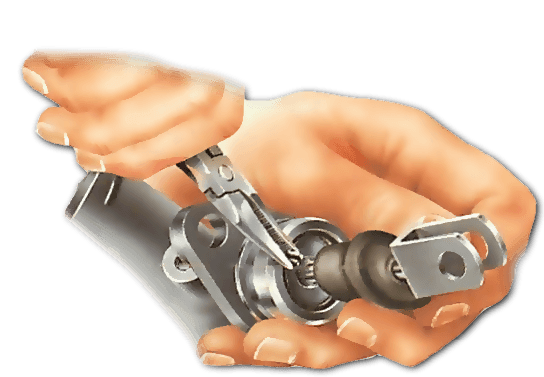
There is usually a rubber dust cover at the pushrod end of the cylinder . Pulling this back along the pushrod usually reveals a circlip at the mouth of the cylinder which acts as a rear stop for the piston . Push the piston in, then release the circlip - it may or may not need special circlip pliers.
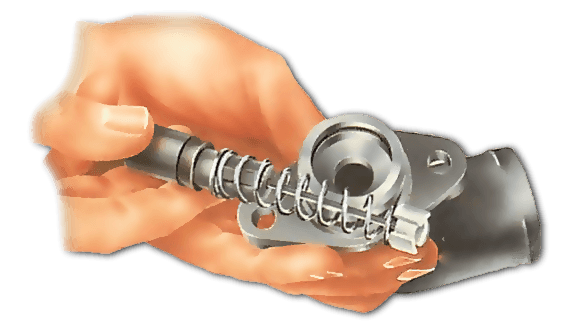
The spring inside the cylinder should now push the piston out. If it does not, push the piston down against the spring pressure and then release it quickly.
Remove all the internal parts, carefully noting the order in which they fit together. Keep them in a clean container.
Wash the cylinder with methylated spirit or clean hydraulic fluid. Dry it with a lint-free cloth and examine the bore for corrosion, pitting or scratching. If there is any damage, buy a new cylinder.
The service kit includes a cup seal which fits next to the piston, and a smaller valve seal which goes at the end of the valve stem .
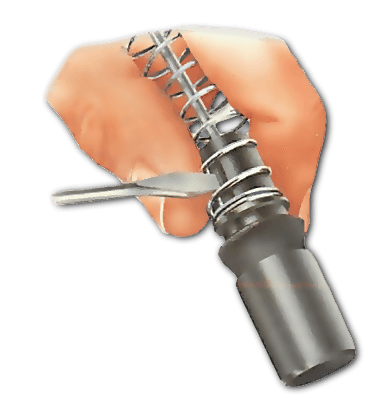
To free the old seals, unfasten the spring retainer (also called a 'thimble' because of its shape). It may have a prong on it; straighten this with a thin screwdriver to free the retainer. Remove the valve and piston seals, noting which way round they fit. On a typical cylinder the refitting order is:
Fit the new valve seal to the valve stem, then fit the spacer and spring retainer to the valve stem;
Fit the seal to the piston (cup towards spring), then the spring assembly to the piston;
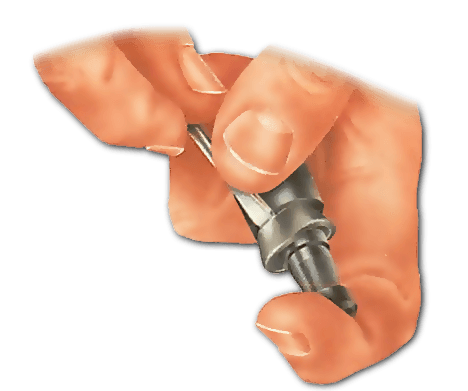
Gently push the retainer prong down to lock it.
Details differ slightly from one cylinder to another. Assembly instructions are often supplied with the new kit.
Finally, lubricate the cylinder bore and the internal parts with fresh hydraulic fluid, then slide the piston in.
The service kit usually includes a sachet of special grease for use on rubber. Squeeze this into the recess in the outer end of the piston. Do not use ordinary grease.
Fit the pushrod and washer, and fasten them in with the circlip, making sure it seats properly in its groove . Slide the rubber cover into place and refit the cylinder.
Removing a slave cylinder
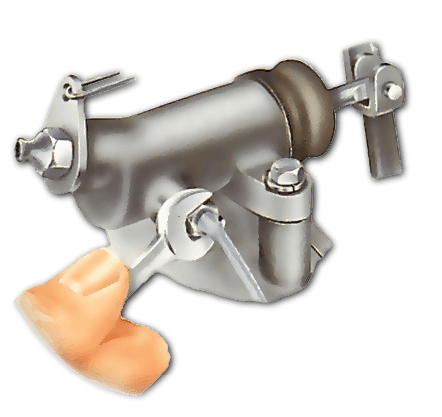
On most cars the slave cylinder is relatively easy to remove, being held by either a clip or bolts.
Connect a short length of plastic tubing to the bleed nipple and put the other end into a container standing underneath - a jam jar serves well.
Open the bleed nipple and pump the pedal until the system is empty of fluid.
Remove the plastic tube from the nipple, and dispose of the hydraulic fluid in a safe place - do not empty it down a drain as it is corrosive and poisonous.
Loosen the cylinder-pipe union nut and disconnect the release-arm return spring .
Disconnect the pipe at any stage that allows you to do so without bending it too far. Cover the pipe end to keep out dirt.
The cylinder is normally held to a bracket or to the flywheel housing by two bolts. Unscrew them and remove the cylinder and pushrod, noting carefully how all parts fit so that you can refit them correctly.
After you refit the cylinder and reconnect the pushrod and hydraulic pipe, bleed the system.
Fitting new slave-cylinder seals
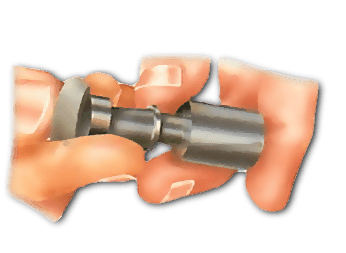
Slave cylinders vary slightly in their internal details, but most are very like master cylinders and new seals are fitted in much the same way.
However, the slave cylinder is likely to be very dirty, because of its position in the car. Clean and dry the outside before dismantling it.
If the internal parts refuse to come out, plug a foot pump into the fluid inlet and cover the open end of the cylinder with a cloth.
When you pump, the parts should spring out into the cloth.
When reassembling take extra care not to turn the lip of the piston seal under. Smear special rubber grease not ordinary grease - over the area where the rubber end cover fits.
The Ultimate Car Mechanics video course
Learn everything about modern cars from our new video series.
Learn more >-
We build a Mazda MX5 Miata from scratch
We start by tearing down and then rebuilding the whole car.
-
Every part explained
There's ridiculous detail on every part. Clearly and easily explained.
-
All modeled in 3D
We've created the most detailed 3D model ever produced so we can show you everything working.
