Cleaning and replacing a control box
The Video Course teaches you everything about modern cars.

On cars with dynamos, faults in the control box show up in various ways, some of which are described in Testing a dynamo and checking output .
Others may be revealed by the ignition warning lamp. If the lamp does not go out as the engine speed rises, the cutout points are not closing.
If the lamp glows dimly at low speeds and brightens as speed increases, the fault is probably dirty, oxidised or burned cutout points.
If the lamp goes out at an abnormally high (or low) speed, it may be a sign of the same trouble in the voltage regulator points, or that either set of points is wrongly adjusted.
The points are tricky to deal with, and the job should be entrusted to an auto-electrician.

Before you do that, check that the underside of the control box is not wet or dirty, which can sometimes produce the same symptoms.
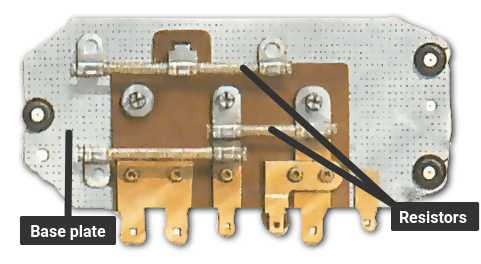
Many control boxes have resistors under the baseplate which, if short-circuited by dirty water, can allow overcharging.
Clean the baseplate and terminals once a year, particularly if the control box is mounted in a place exposed to damp and dirt. Also check that the lid fits tightly.
Removing the box for cleaning and fitting a replacement box are similar jobs, so follow the appropriate parts of the instructions.
Do not buy a new control box until you have made sure that it is not the dynamo or the wiring which has caused the trouble; even then do not fit it until you have rectified any faults that could damage it.
Be sure that the replacement is identical, or the approved successor, to the original. Boxes with different specifications may look alike, so check the model number.
replacing a control box

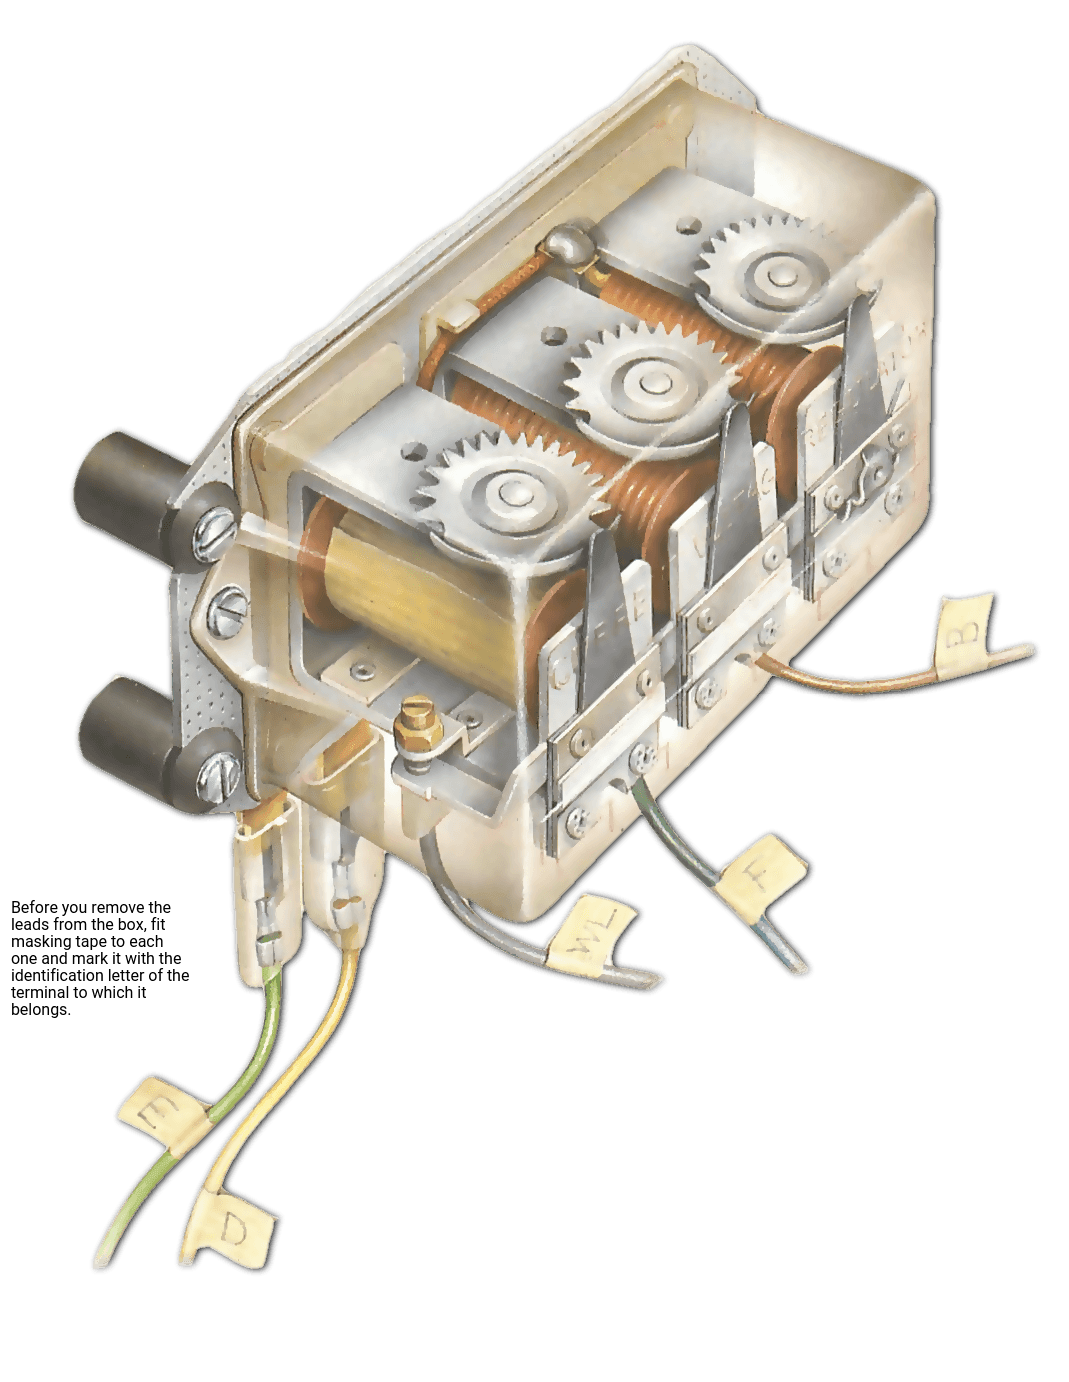
Disconnect the battery before starting work. Mark the control box leads with the letters of the terminals where they fit, then pull them off or unscrew them. See that the connectors are sound and clean.
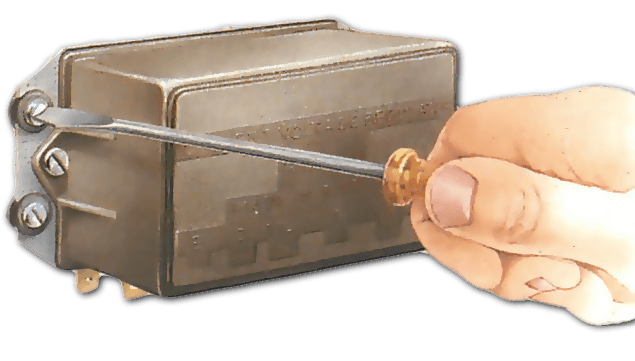
The box is usually fixed by two or three screws, which may pass though a rubber mounting; ot there may be some kind of other backing.
Remove the screws and lift off the box. Take care not to damage the frail resistors mounted on its underside.
The backing acts as an insulator and seal ; make sure its keeping out water and dirt, clean the area under the box and the box itself unless you are renewing it.
Refit the box, making sure it fits snugly against its backing and that the lid fits tightly. Reconnect the leads, then the battery. Start the engine and test the box.
Cleaning the control box

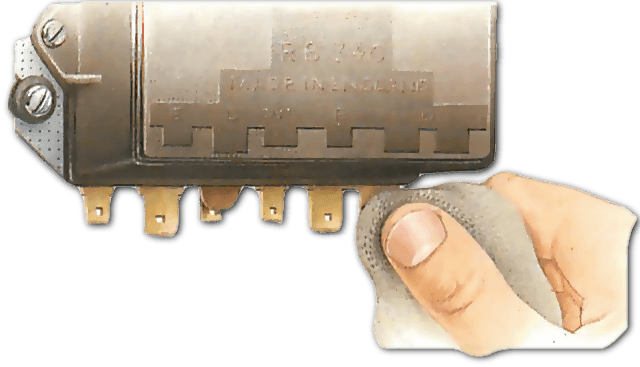
Wipe the underside of the box carefully; the resistors are easily damaged. Use a clean, dry cloth, or one moistened with parafin if necessary, to remove dirt.
Keep paraffin away from rubber parts. Also clean the terminals using a soft rag and methylated spirit. Allow the back of the box to dry before re-fitting.
The Ultimate Car Mechanics video course
Learn everything about modern cars from our new video series.
Learn more >-
We build a Mazda MX5 Miata from scratch
We start by tearing down and then rebuilding the whole car.
-
Every part explained
There's ridiculous detail on every part. Clearly and easily explained.
-
All modeled in 3D
We've created the most detailed 3D model ever produced so we can show you everything working.


