Replacing other types of track rod
The Video Course teaches you everything about modern cars.
Renault outer rod
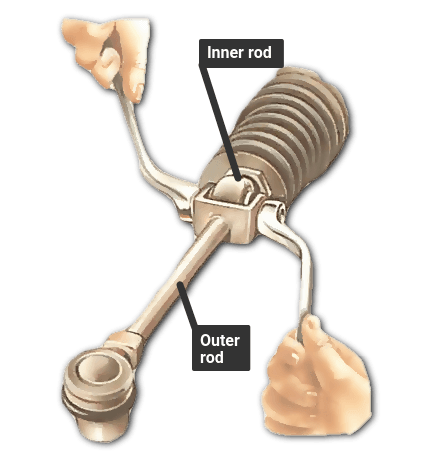
Separate the outer ball joint from the steering arm (See Replacing track-rod-end ball joints ).
Unscrew the nut from the bolt holding the outer and inner rods together, using two spanners to stop the bolt from turning.
Push the bolt out through the bushed eye on the inner rod to release the outer rod.
Some newer Renaults have adjustable outer rods and nonadjustable, non-renewable inner rods. The outer ball joints can be replaced in the usual way.
Others have a rack with track rods ball-jointed directly to it.
If you dismantle an adjustable rod, measure or mark its length first, as for other cars.
Renault inner rod
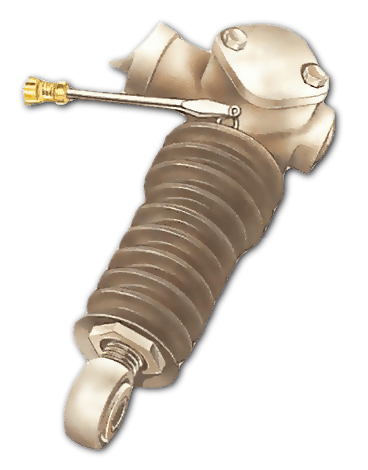
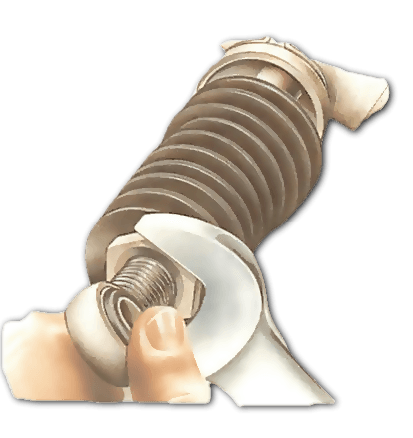
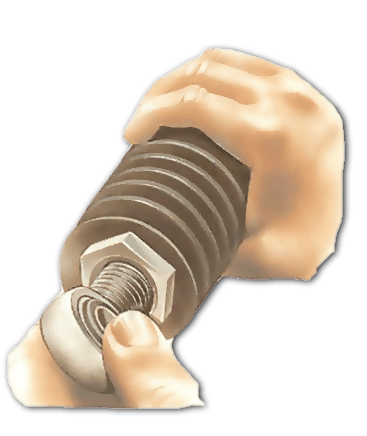
This part has to be replaced if the bushed eye becomes worn. On cars with adjustable track rods, the inner rod is neither replaceable nor adjustable. The whole rack has to be replaced.
Separate the inner and outer rods before you loosen the protective gaiter (See Replacing steering-rack gaiters ).
Unfasten the inner end of the rack gaiter and pull the gaiter free of the rack.
The inner-rod locknut is just outside the end of the gaiter. Slacken it slightly — just enough to free the rod.
Unscrew the inner rod, noting the exact number of turns it takes to remove it so that the new rod can be fitted in the same position.
VW Golf, Scirocco and Audi 50
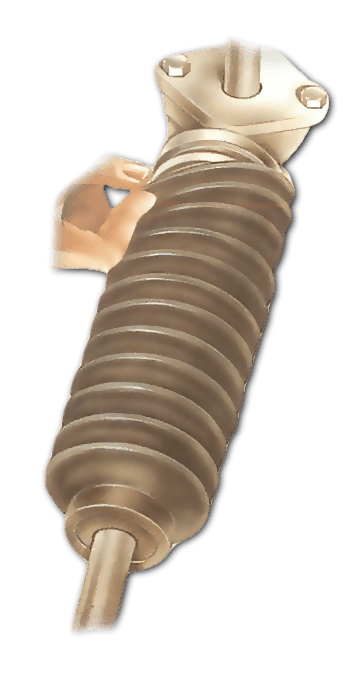
Disconnect the outer ball joint from the steering arm.
Loosen the clip (if fitted) on the inner end of the rack gaiter and pull the gaiter free from the rack housing.
Centre the steering exactly. Measure the distance between the ends of the rack housing and the inner faces of the inner ball joints of both rods.
If you are fitting a new rod, adjust it to the correct length and secure the ball joint with the locknut.
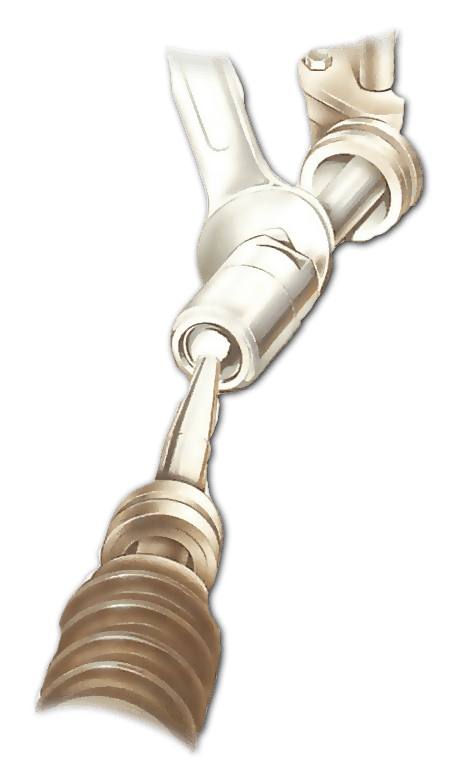
Release the locknut of the inner ball joint and unscrew the track rod together with the gaiter. Mark the position of the old ball joint at the outer end of the track rod if it is replaceable.
With a non-replaceable rod which has to be replaced completely, measure to the total length of the rod. Unscrew the old ball joint.
Citroen GS
You need a special spanner to undo the inner ball joints of the Citroen GS steering rack, which is similar in many ways to that of the VW Golf, Scirocco and certain others.
VW Passat, Beetle, Audi 80 and Audi 100
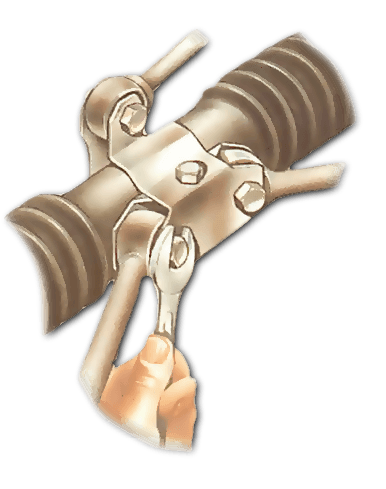
Separate the track-rod outer ball joint from the steering arm in the normal way.
On cars with rack-and-pinion steering, unscrew the nut from the bolt which holds the bushed eye at the inner end of the track rod to the sliding yoke on the rack.
Removing both bolts will free a locking plate which covers both track-rod attachment points. Note which way round this fits before you pull out the bolts; note also where the washers go.
Only late models 1303 Beetles have rack-and-pinion steering. On earlier models there is a central steering box with a single drop arm which moves both track rods in a similar way.
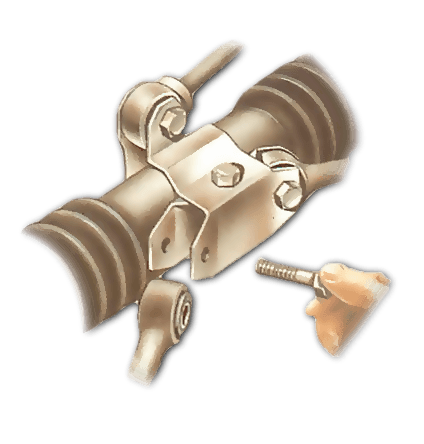
The track rods are ball-jointed to this arm. The ball joint is secured by a castellated nut with a split pin. Remove the pin to free the nut.
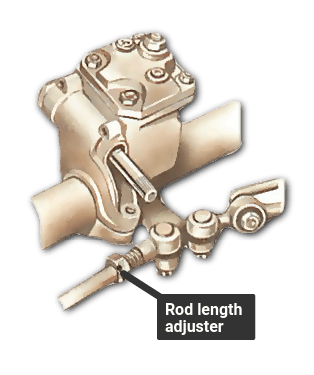
One track rod has a steering damper bolted to it. Take the nut off the bolt, pull the bolt out of the bushed eye in the rod and disconnect the damper from the rod, leaving its other end attached.
The Ultimate Car Mechanics video course
Learn everything about modern cars from our new video series.
Learn more >-
We build a Mazda MX5 Miata from scratch
We start by tearing down and then rebuilding the whole car.
-
Every part explained
There's ridiculous detail on every part. Clearly and easily explained.
-
All modeled in 3D
We've created the most detailed 3D model ever produced so we can show you everything working.


