How to bleed a clutch
The Video Course teaches you everything about modern cars.
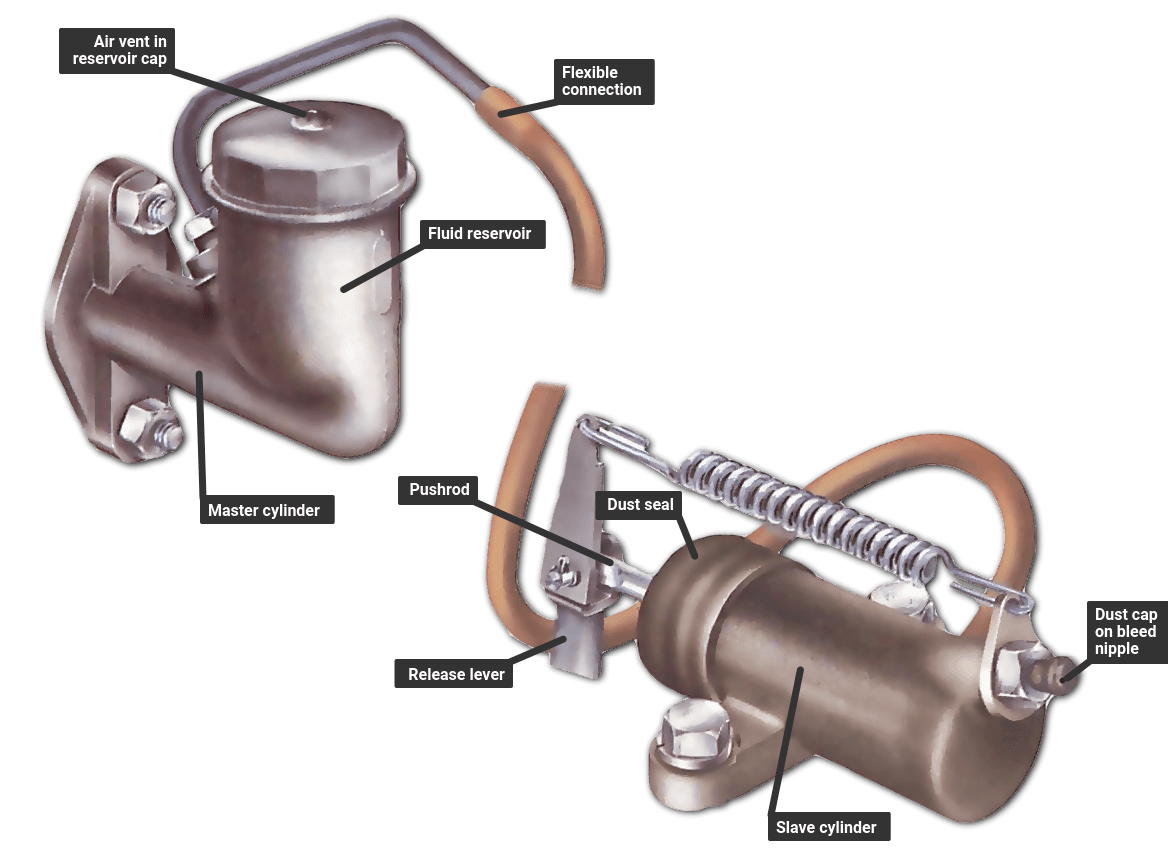
Many cars have clutches that work hydraulically. The mechanism that operates them is sturdy and long lasting, requiring only an occasional look in the fluid reservoir (See Checking and removing a clutch master cylinder ) to make sure the level is correct.
If the fluid level in the reservoir is more than 6mm below the top (or the full mark), inspect the whole system immediately for leaks.
Leakages let air into the system, causing erratic pedal response. After the trouble has been located and put right, bleed the clutch to expel air and replace it with clean, uncontaminated fluid.
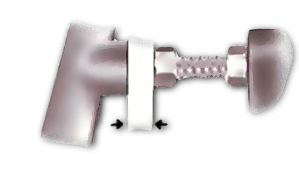
On some front-wheel-drive cars, the clutch freeplay must be adjusted (See Adjusting the clutch ) before bleeding.
Clutch fluid is the same as that used in braking systems, and must conform to strict international specifications. It should come in a sealed, airtight container bearing one of the three current specification marks: SAE J1703, US FMVSS or 116 DOT 3.
Most cars use a type of fluid containing polyalkylene glycol ethers, but some use a mineral-based fluid. Check your car handbook - on no account should the two types be mixed.
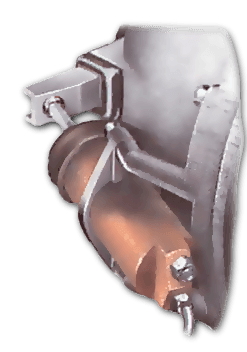
If the clutch pedal still has a spongy feeling after bleeding, bleed the system again.
If the pedal still does not work the clutch effectively, examine the places where the pushrods enter the master cylinder and slave cylinder , peeling back the rubber dust covers. The fluid is probably leaking past the seals (See Checking and removing a clutch master cylinder ).
Hydraulic fluid is highly poisonous and corrosive. If you get some in your eye, flush it with clean water for 15 minutes, and call a doctor.
Store out of reach of children, and take care not to spill any on your car it eats through paintwork in seconds.
Bleeding sequence
Pour about an inch of new hydraulic fluid into a clean jar, and stand it on the ground under the slave cylinder .
Put the free end of the bleed tube into the jar, below the surface of the fluid. Air and fluid from the system will be pumped into the jar.
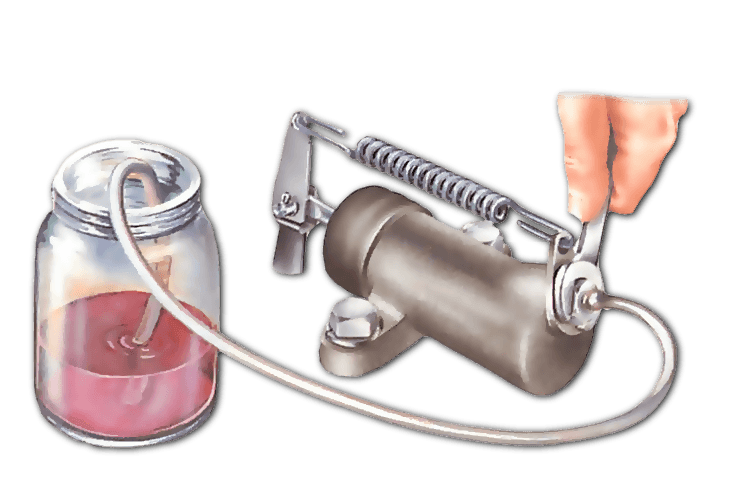
Remove the bleed-nipple dust cover on the slave cylinder and fit the bleed tube as described (see right). The nipple is easily damaged, so use a spanner of the right size to unscrew it about three-quarters of a turn.
Get a helper to press the clutch pedal smartly all the way down, then release it quickly. If bubbles flow from the end of the pipe in the jar, pump the pedal until no more appear. Keep the end of the tube immersed in the fluid all the time.
If after six pedal strokes the bubbles have not cleared, top up the reservoir before you continue pumping. Otherwise, more air will be drawn into the system and it will have to be bled again.
When the system is free of air, get the helper to hold the pedal down while you tighten the nipple.
Before you remove the bleed tube and jar, depress the clutch pedal to ensure that the pressure required is normal.
Top up the fluid reservoir and screw the cap on firmly. Get your helper to work the pedal vigorously several times while you inspect all the joints and piping of the system for leaks.
Unless the end of the bleed tube is covered with fluid, air will be sucked into the system during pumping.
Use a spanner of the right size to open the bleed nipple. Unscrew it about three-quarters of a turn.
Topping up the reservoir
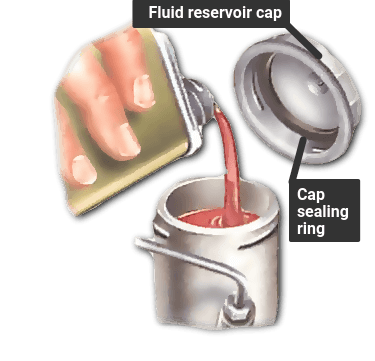
Allow the new clutch fluid to stand, unshaken, for at least 24 hours before using, to allow any bubbles to dispel.
Wipe away any dirt that may have collected around the reservoir cap, so that no specks drop in when you unscrew it.
Remove the cap and check that its sealing ring is sound and that the air hole is clear.
Top up to the correct level with new clutch fluid. After pouring liquid , tightly replace the container lid, or moisture will get into the liquid and spoil it.
Fitting a bleed tube
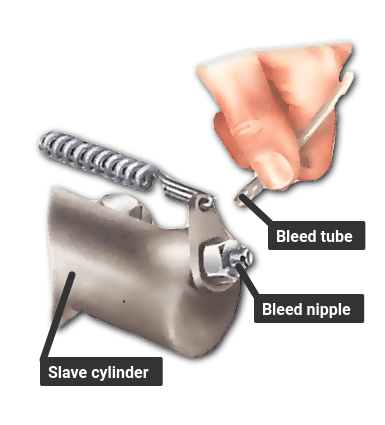
A bleed tube can be rubber or plastic, about 2 ft (600 mm) long and about 5 mm in diameter.
Find the bleed nipple of the clutch slave cylinder — it may have a rubber or plastic cover to protect it from dirt.
Remove the cover and clean the nipple thoroughly. Fit the end of the bleed tube securely over the nipple. It must be a tight, push-on fit.
A plastic tube will be easier to fit if you first soften the end by immersing it in warm water.
The Ultimate Car Mechanics video course
Learn everything about modern cars from our new video series.
Learn more >-
We build a Mazda MX5 Miata from scratch
We start by tearing down and then rebuilding the whole car.
-
Every part explained
There's ridiculous detail on every part. Clearly and easily explained.
-
All modeled in 3D
We've created the most detailed 3D model ever produced so we can show you everything working.


